So did you love yesterday’s Autumn Market Party Hop projects? If you didn’t see them, check them out HERE! Nine Uh-MAZING bloggers each created a fall project and we will be presenting them here all this week. Isn’t that fun?? Don’t miss a single day of this creative Autumn Market Party Hop!
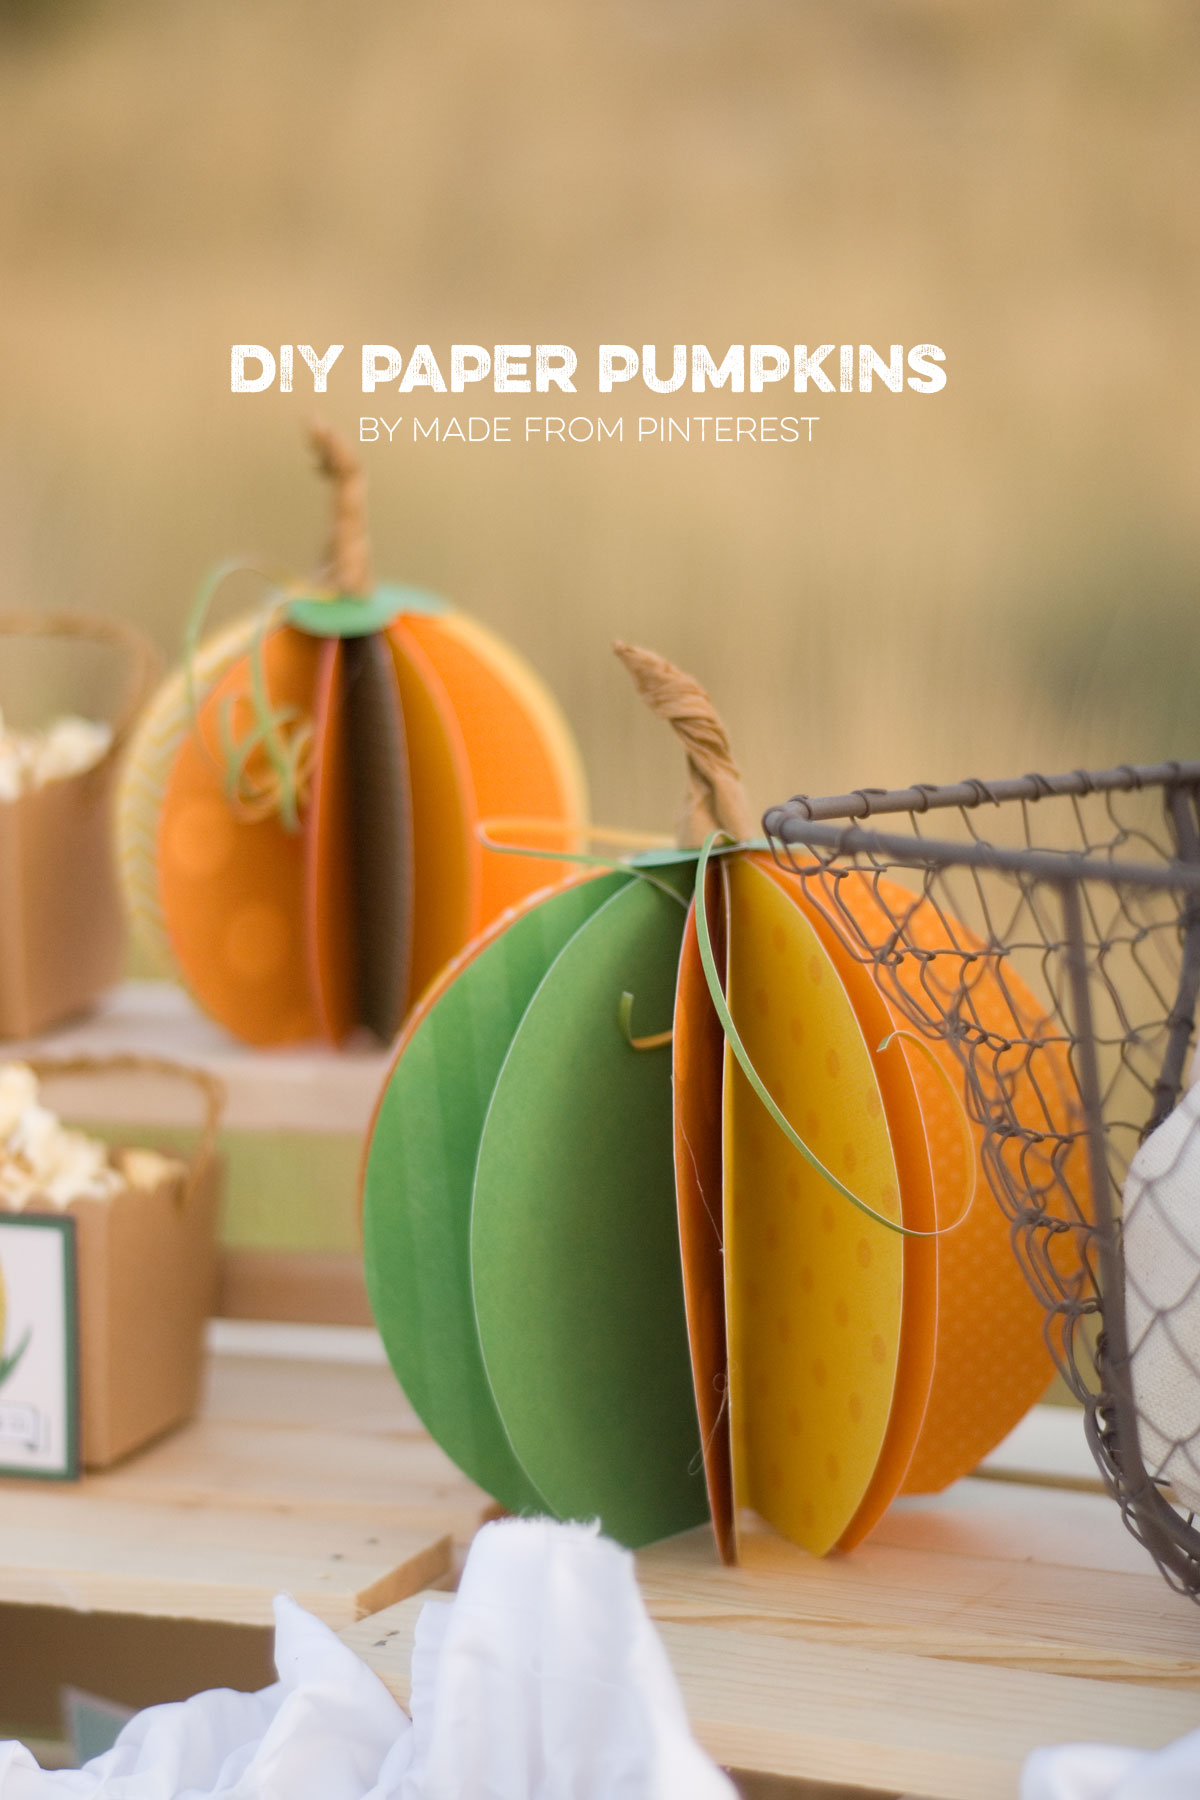
Today we have three more projects that you can make for any upcoming fall party that you might be having including one of the projects that we made…Paper Pumpkins! But make sure you read to the end of the post to see the other two projects. You won’t want to miss them!
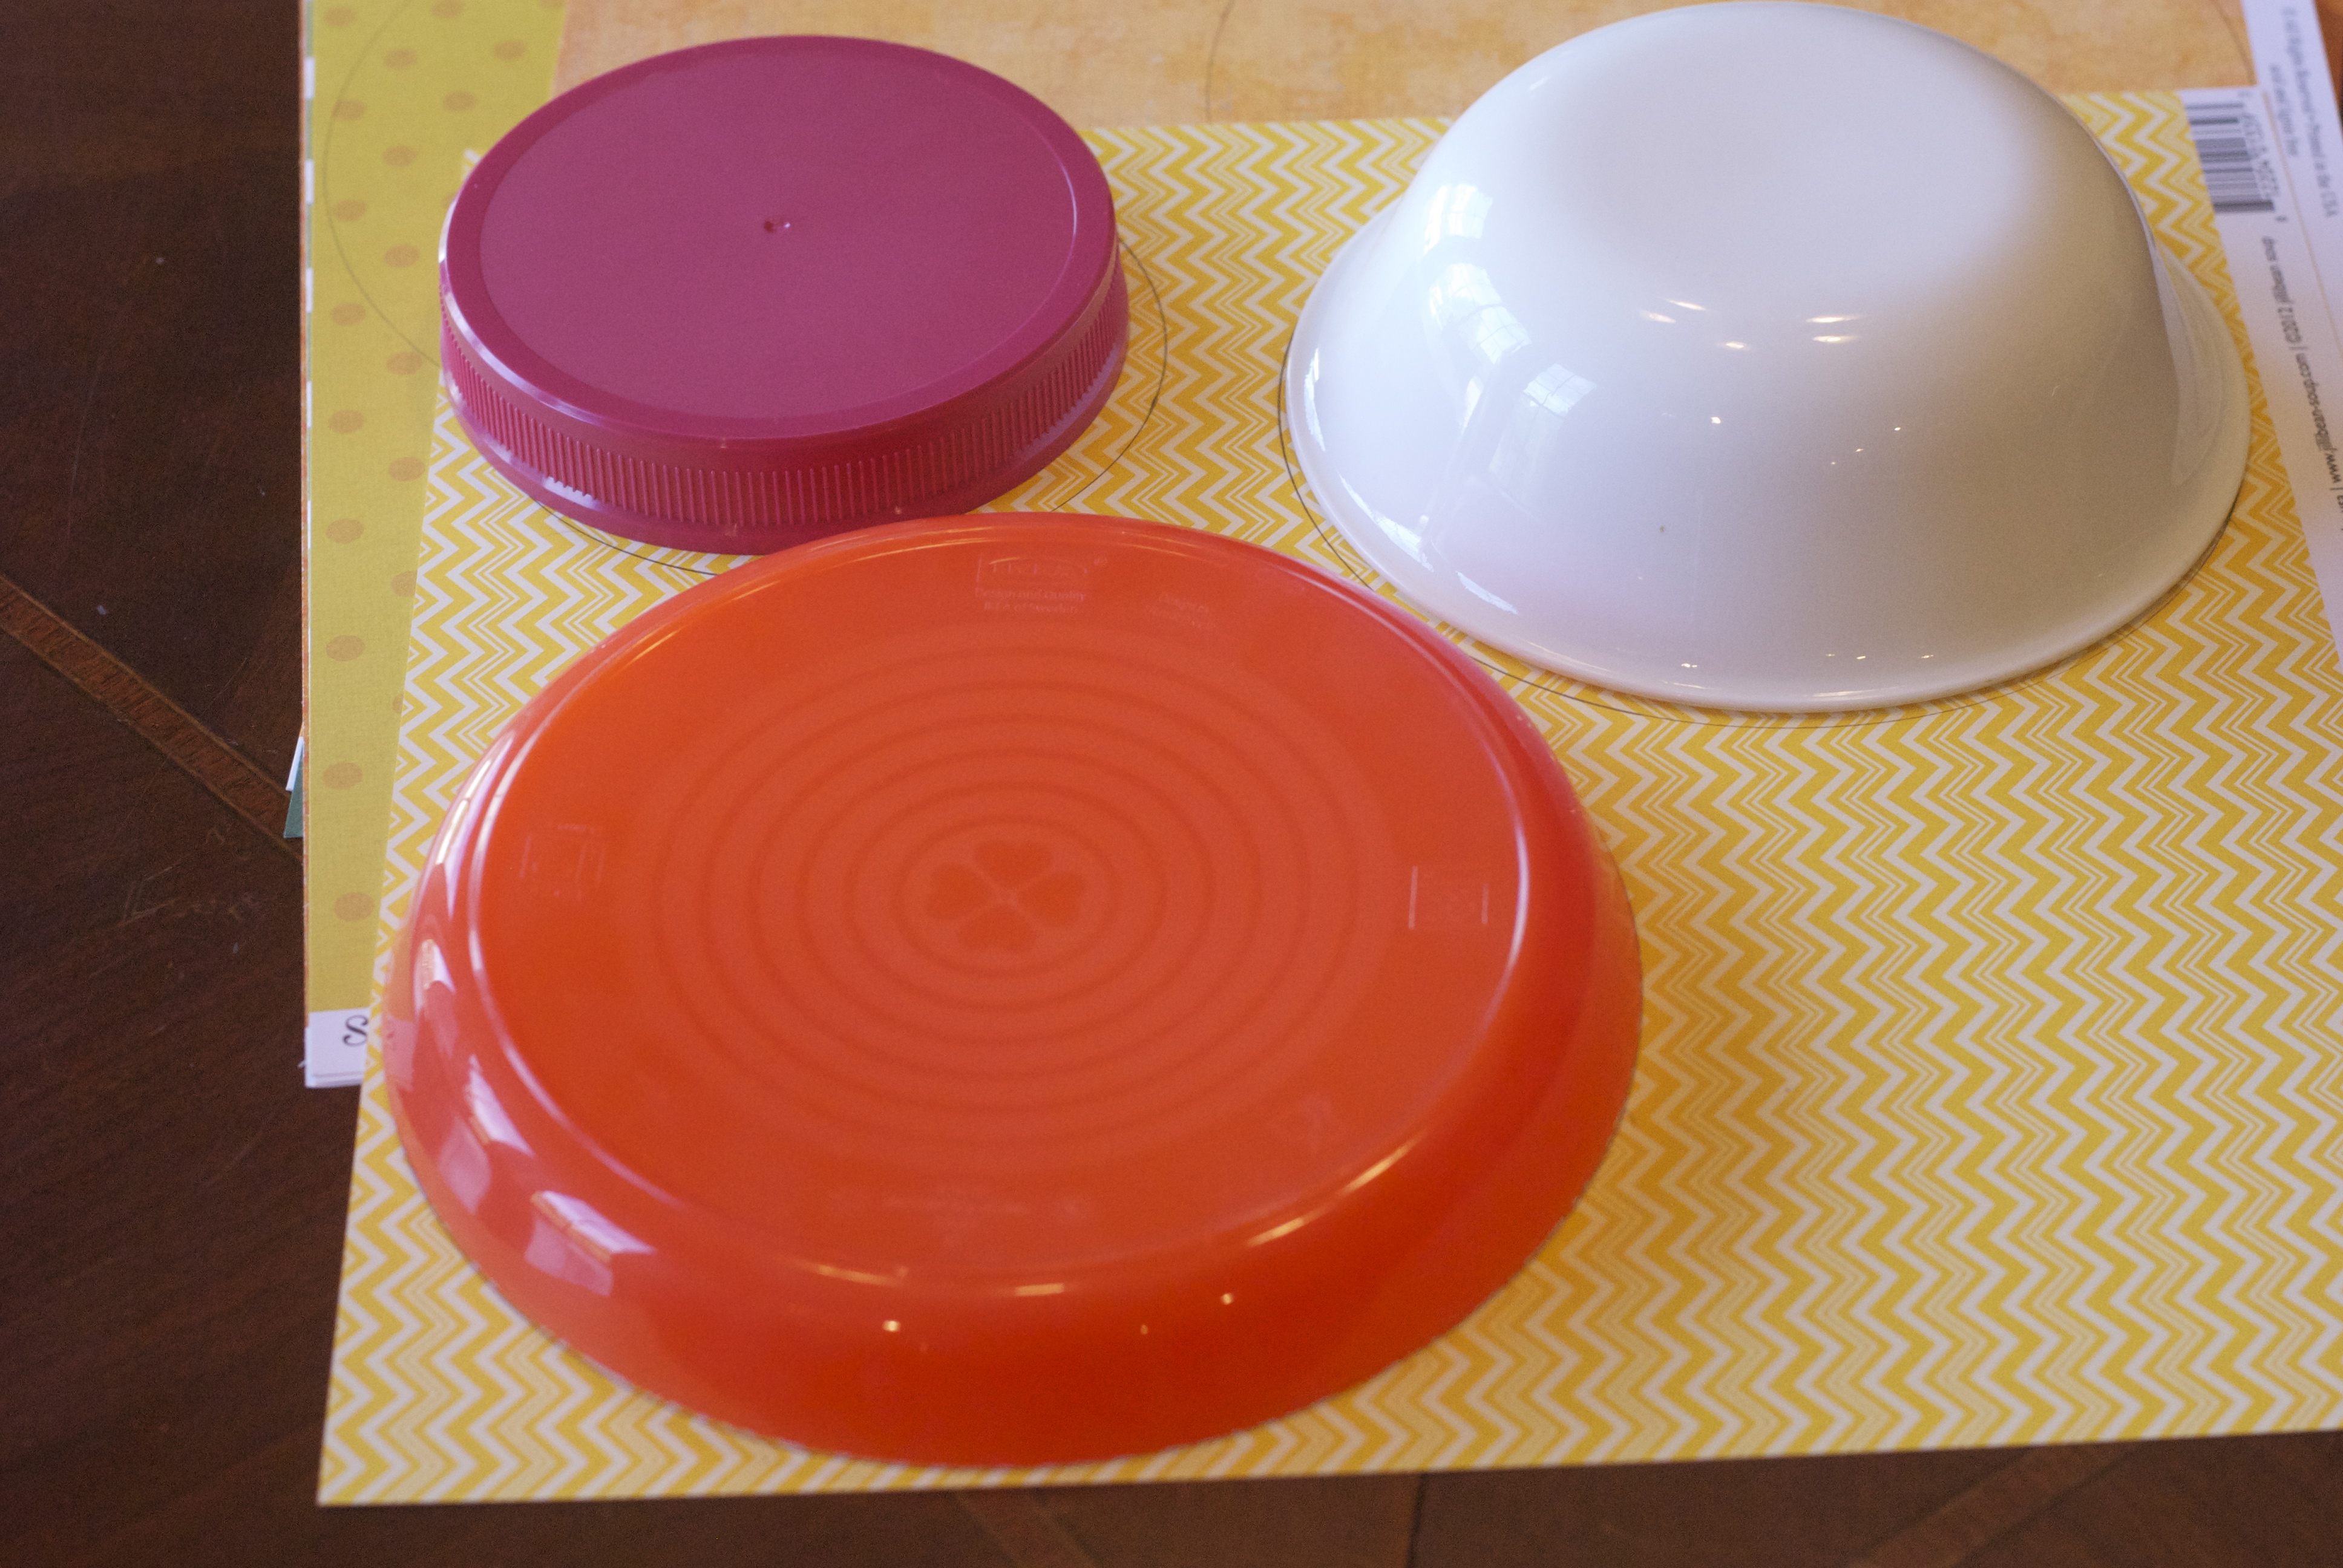
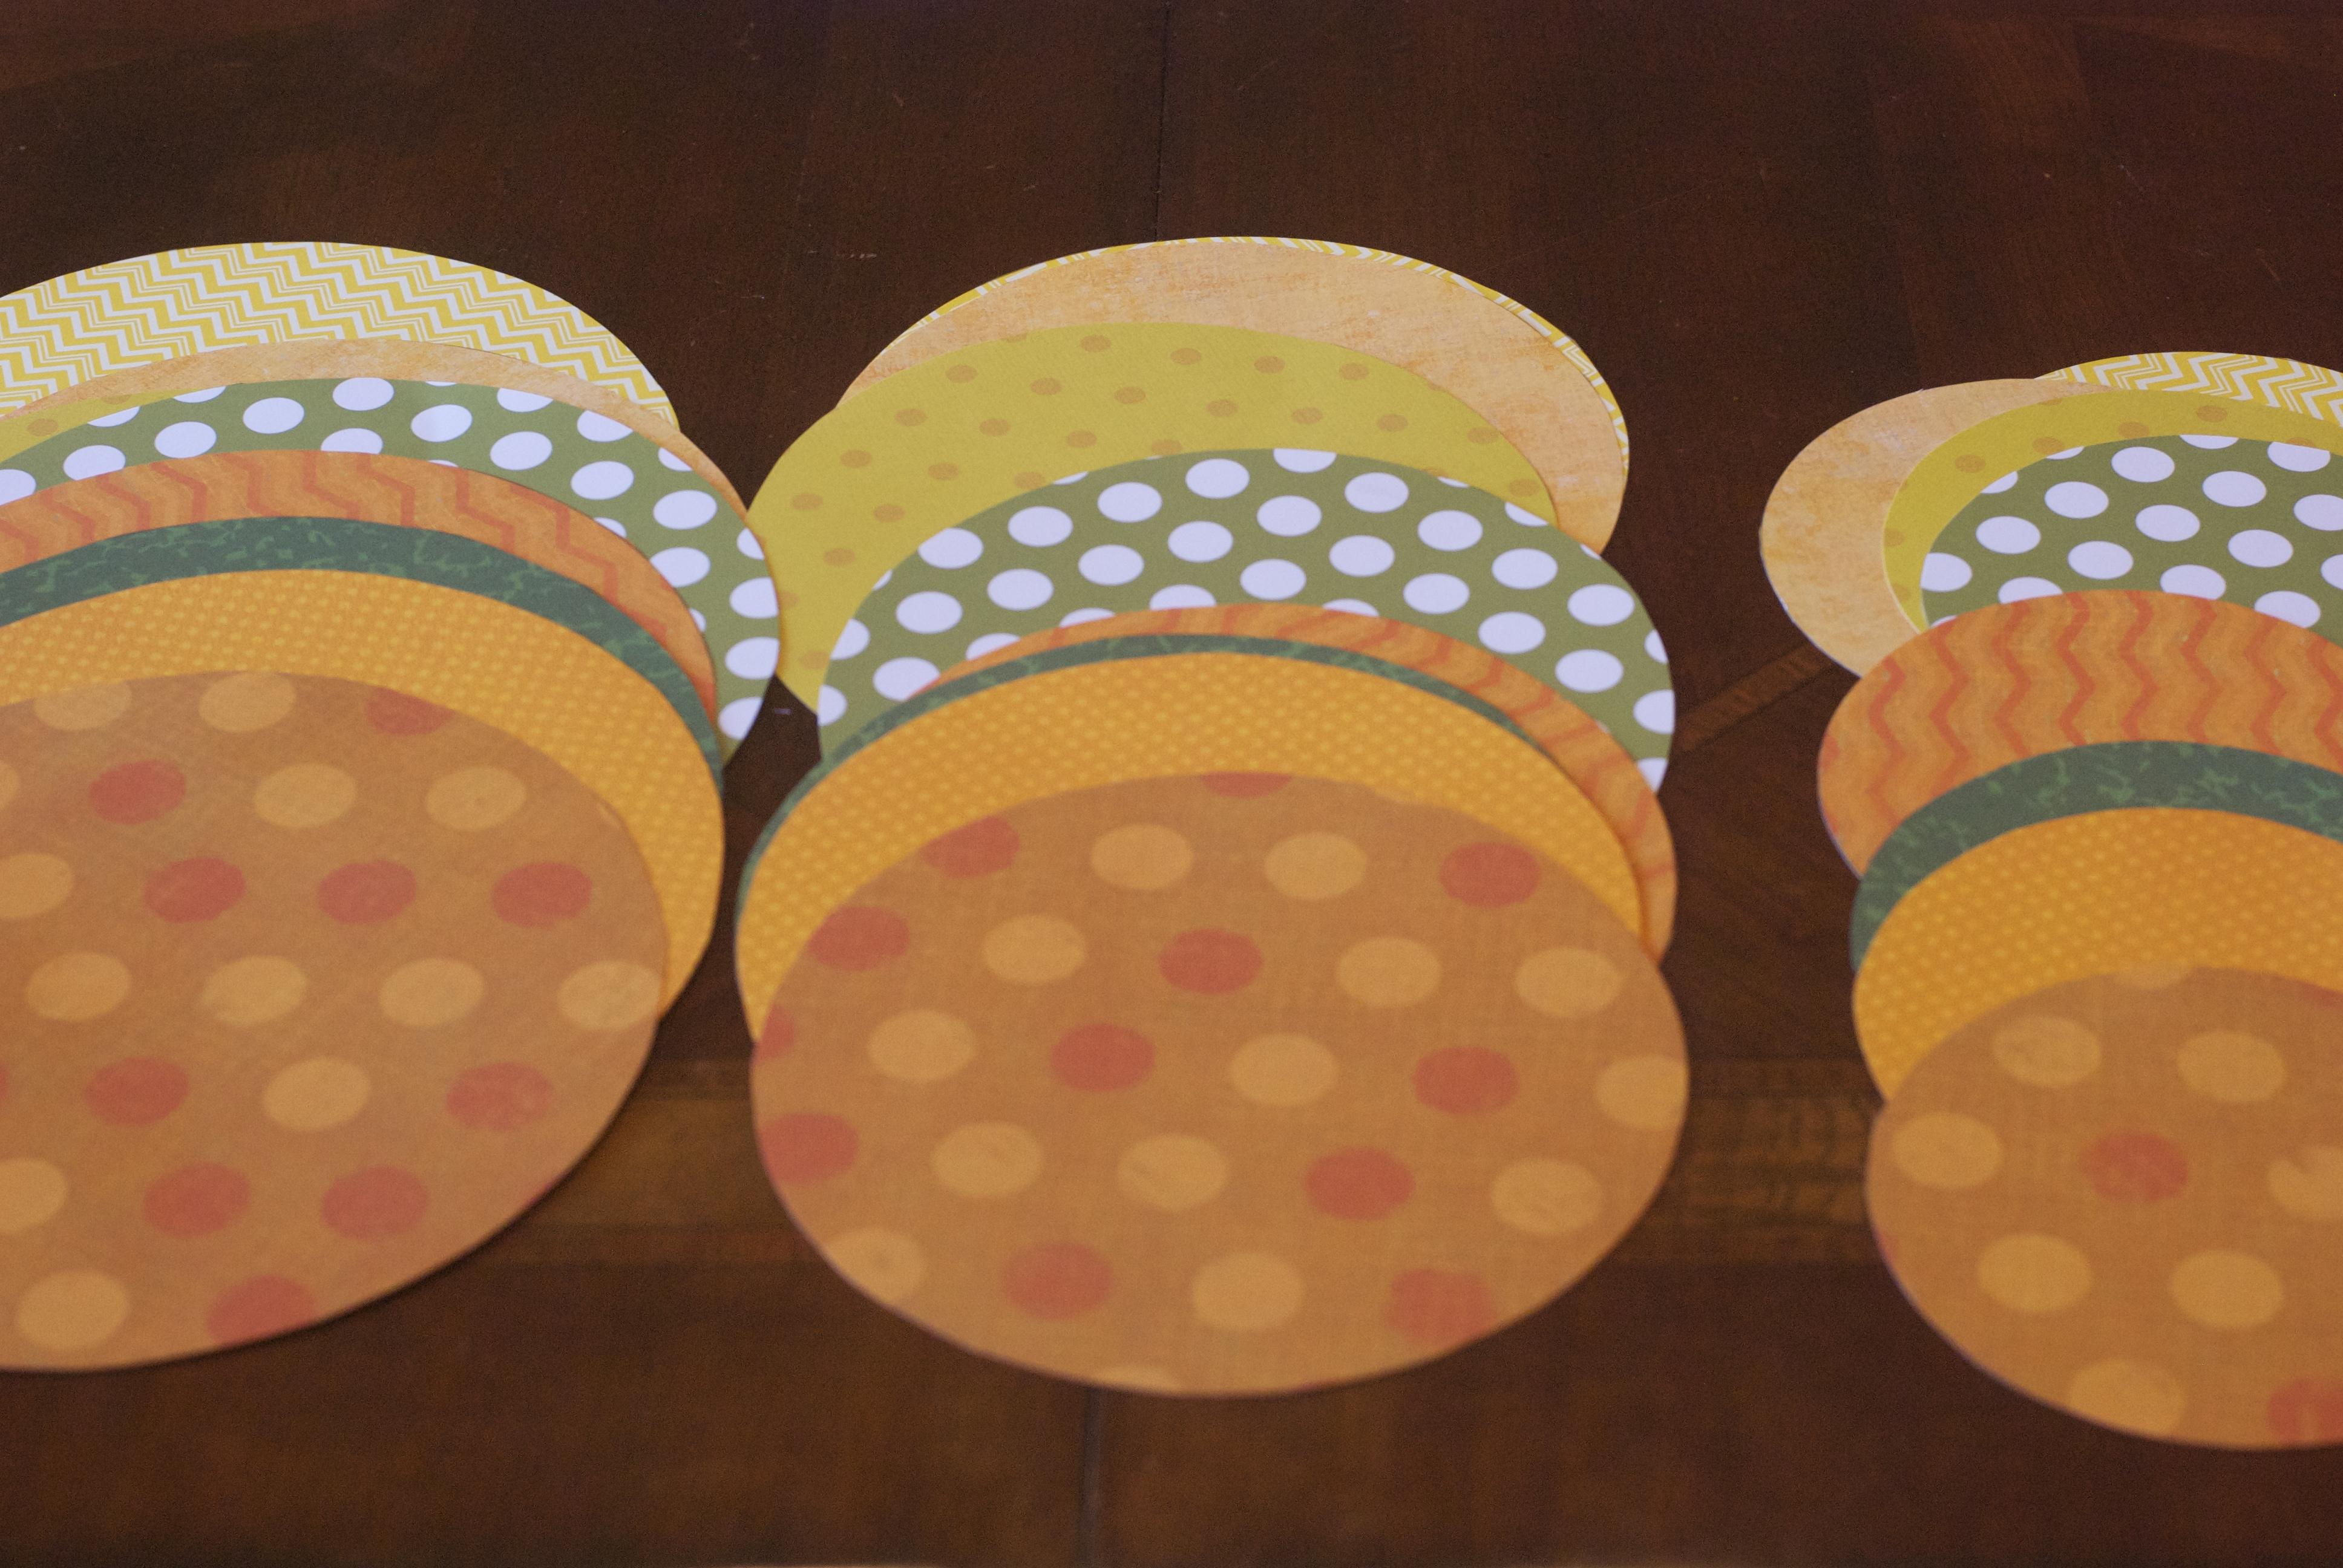
 Items needed for this project are: 7 different colors of 12×12 two-sided (really important!) scrapbook paper, making sure one color is green for the leaves at the top, kraft paper or a brown paper bag, scissors, glue gun and glue. That’s it!
With whatever “round” items that you have at home, cut three sizes of circles from your scrapbook paper. I made mine around 7″, 6″ and 5″.
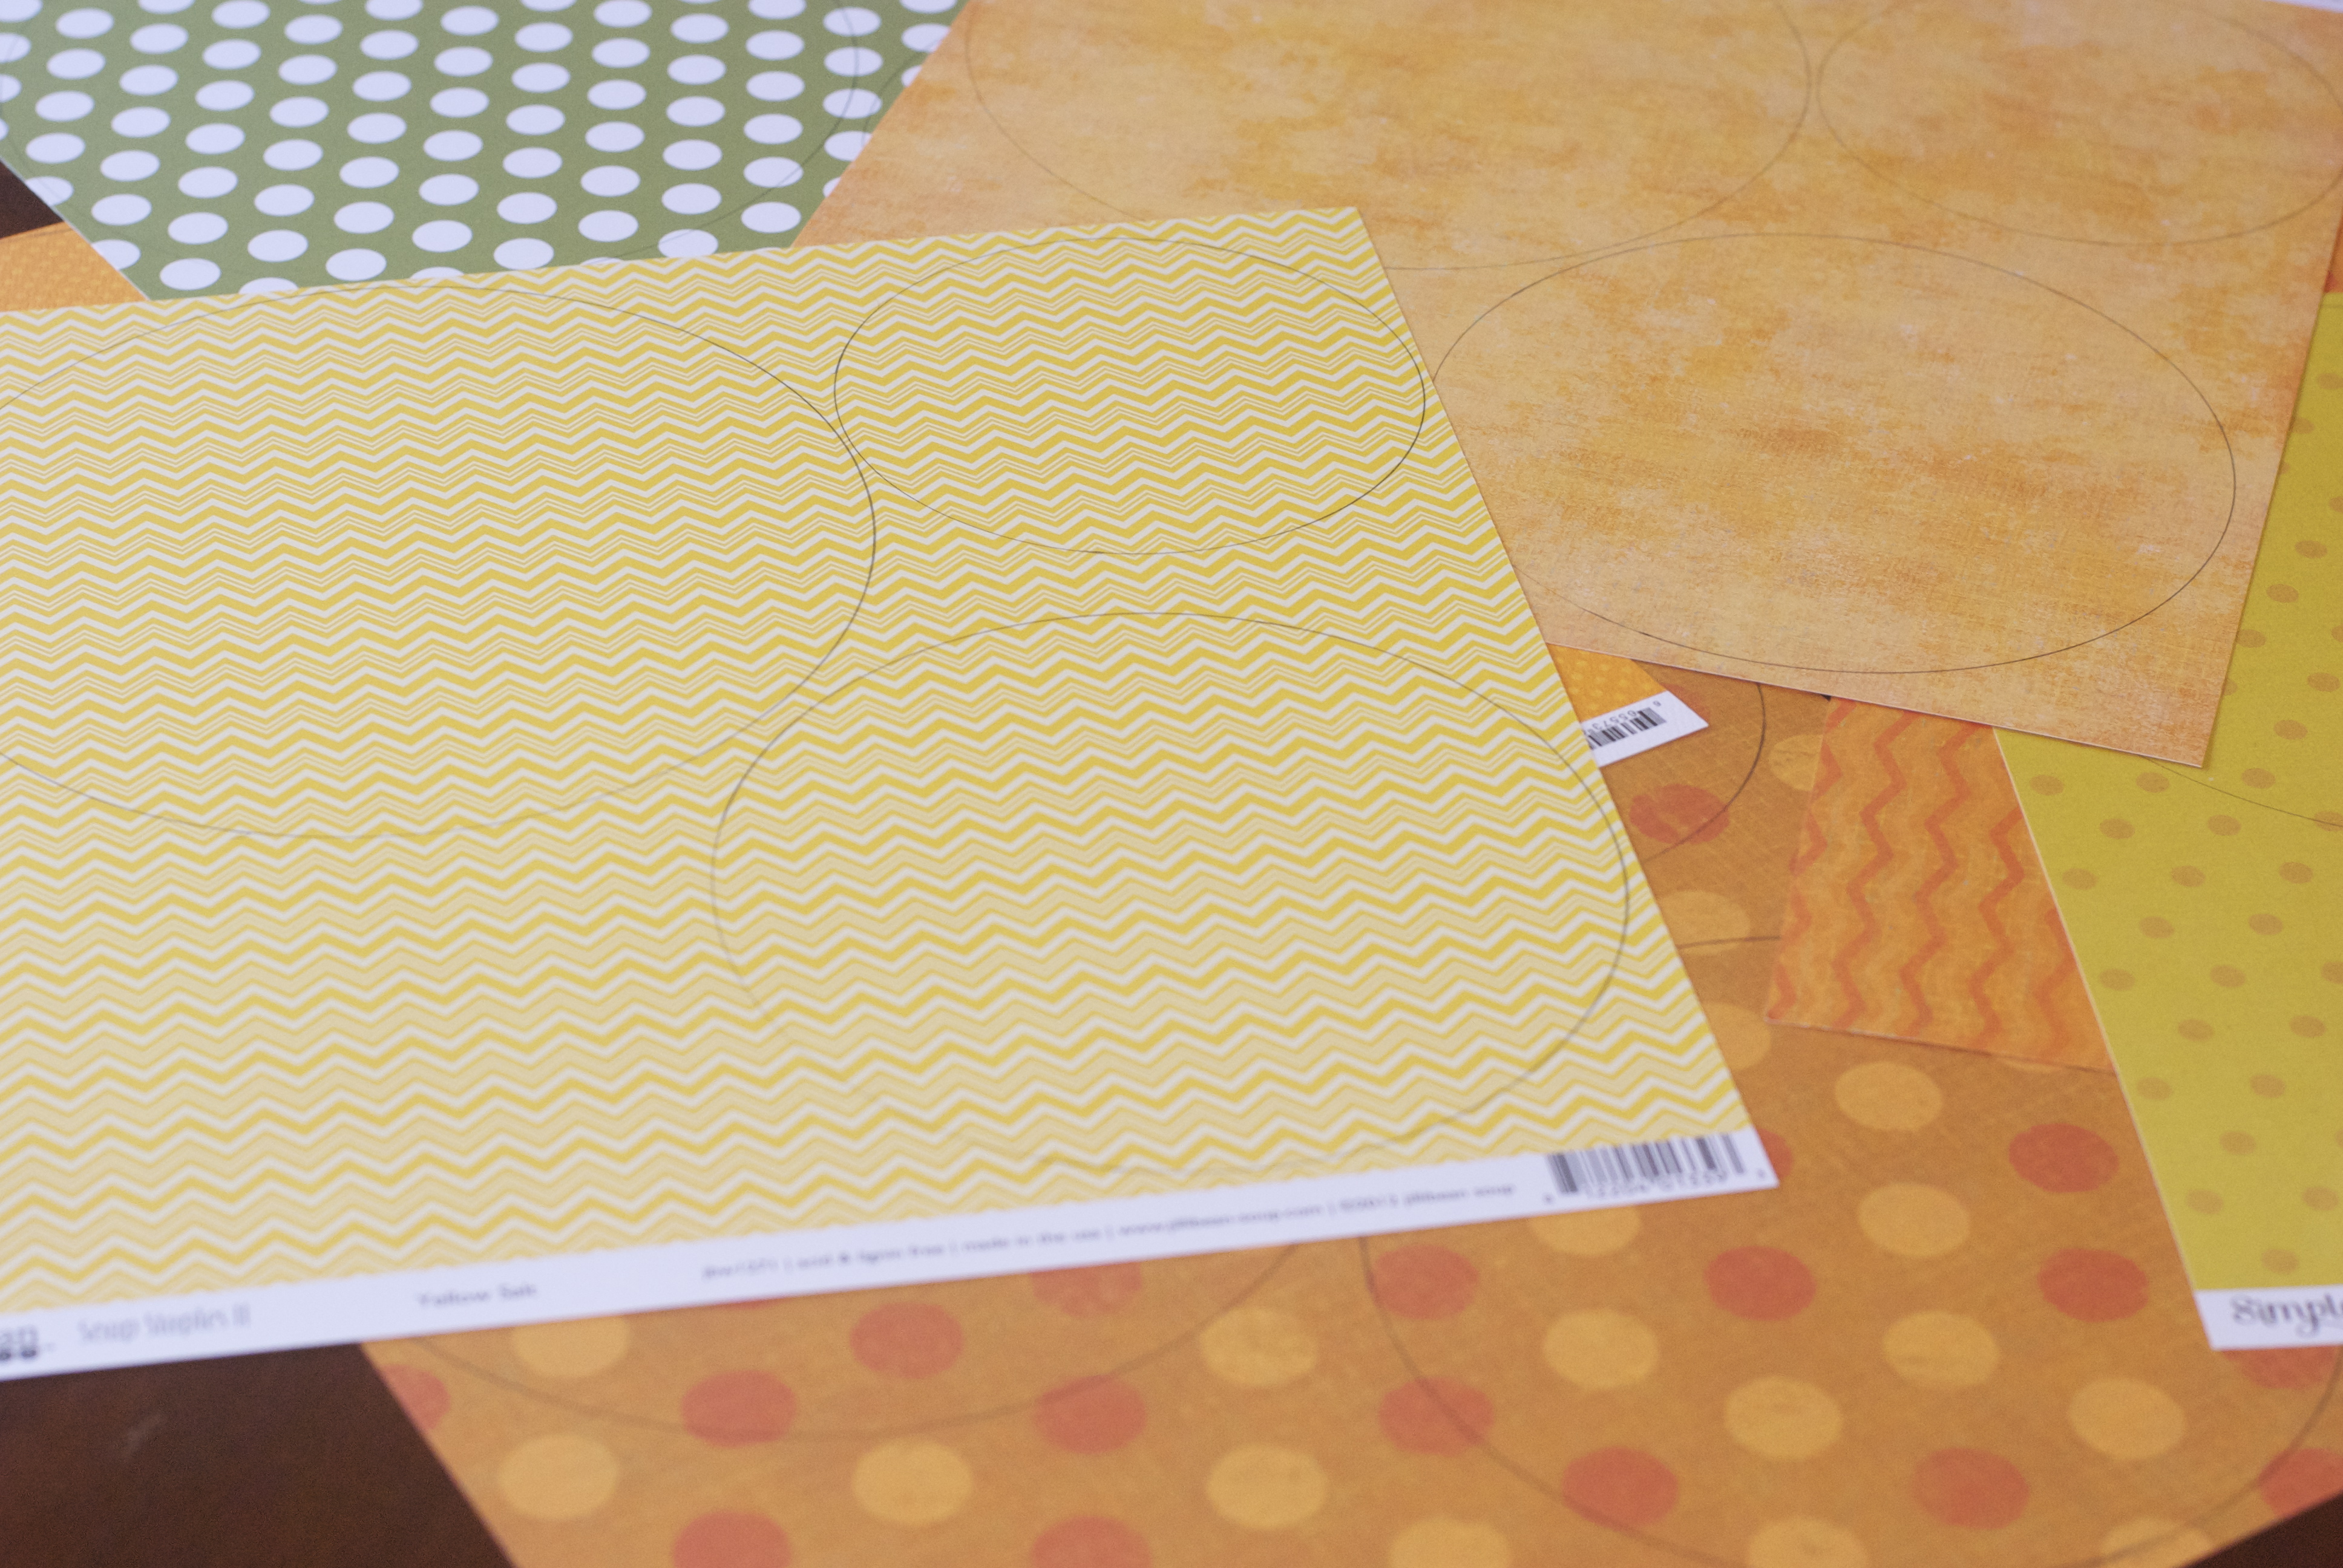
Cut out your circles. Make sure you cut inside the pencil line so they won’t show on your pumpkin!
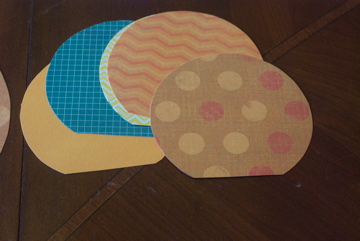
Then take a ruler and draw a line at the bottom of your circles and cut a little bit off of the bottom of the circle. This will help your pumpkins to “stand”. Make sure that if your paper has a linear design on it that you cut the bottoms to look good with your pattern.
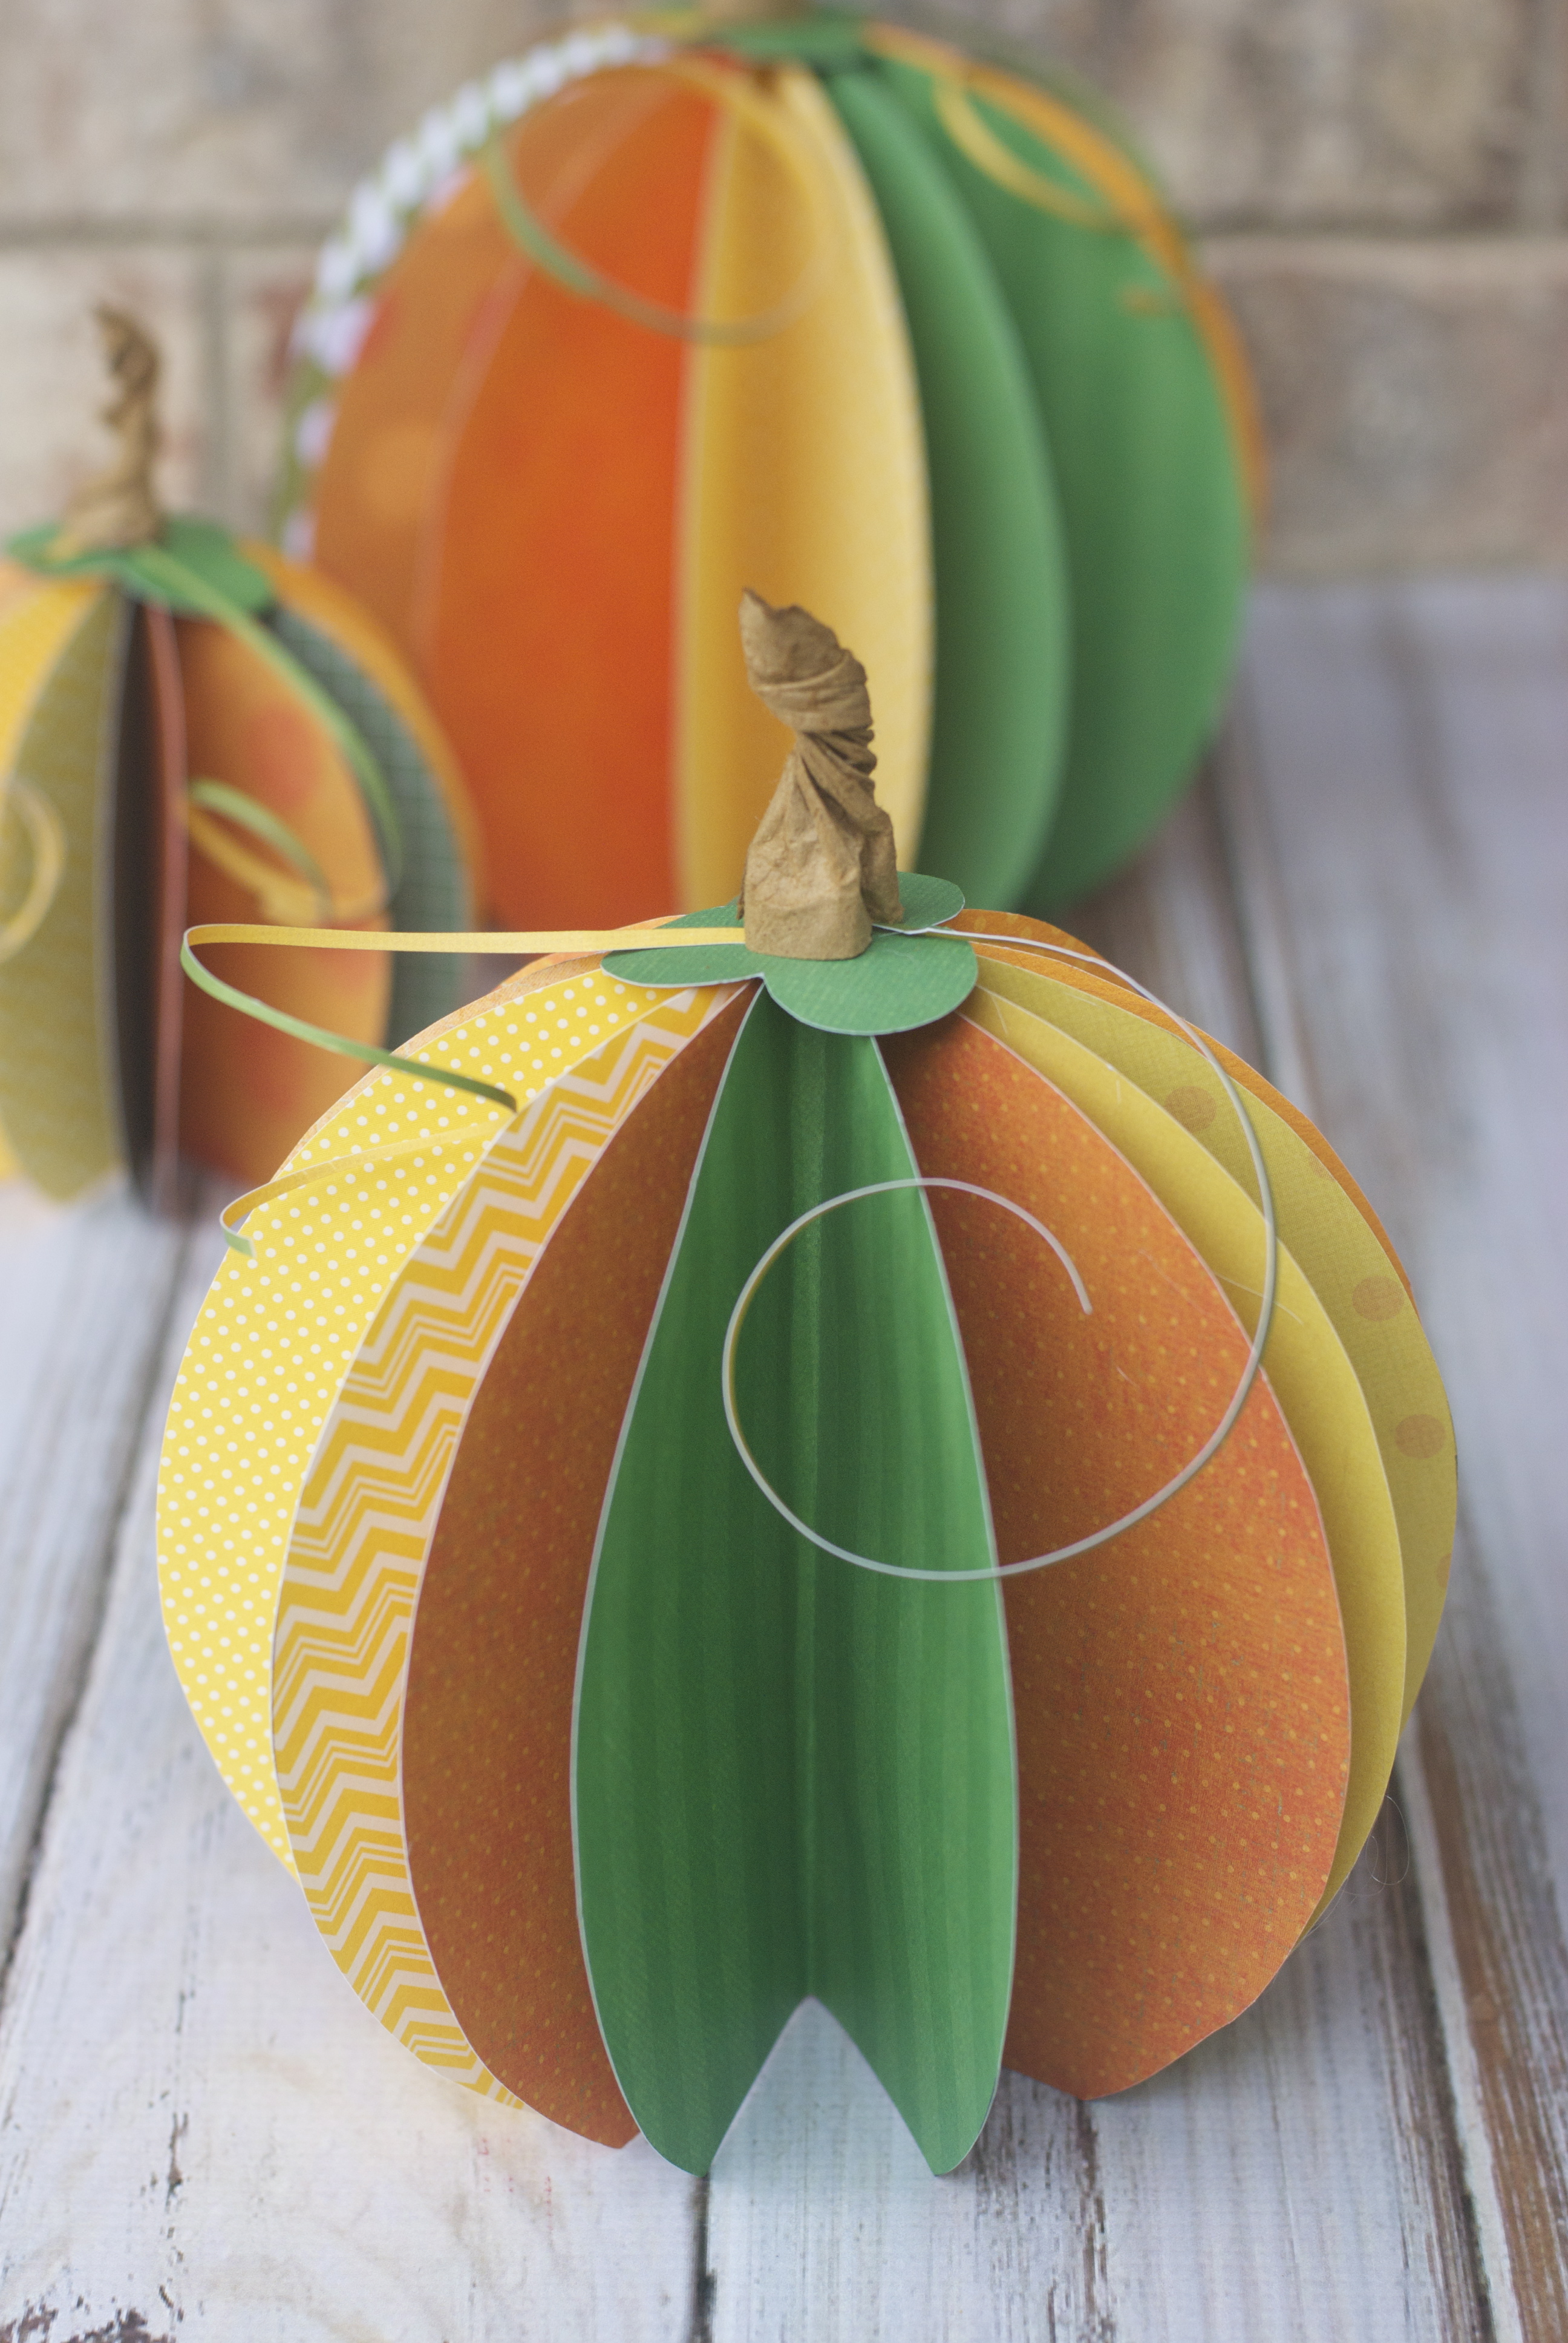
Fold your circles in half and then with a glue gun, glue the folded backs together to create your pumpkin.
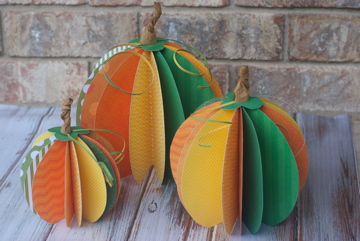
To finish, cut some round circles to glue as leaves on the top. I then took some brown kraft paper and got it wet, twisted it to look like a vine and let it dry. Also cut two thin strips of your leftover scrap paper and curl with some scissors. Glue your leaves on, then your two thin curled strips and then top with your dried paper vine. Voila! Are these cute or what?
A big shout out to It Happened Like This for the great inspiration for this project!
And now are you ready for the next two projects? Click on the links to be taken to the tutorial and while you’re there check out the darling blogs of
One Charming Party and Lulu the Baker!
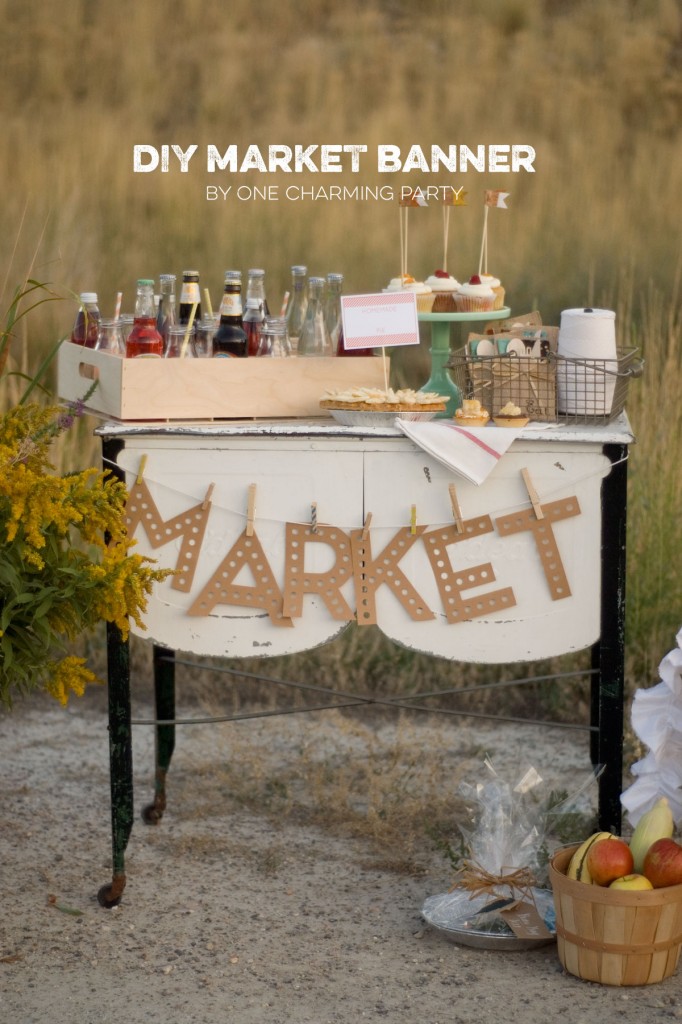
DIY Market Banner by One Charming Party
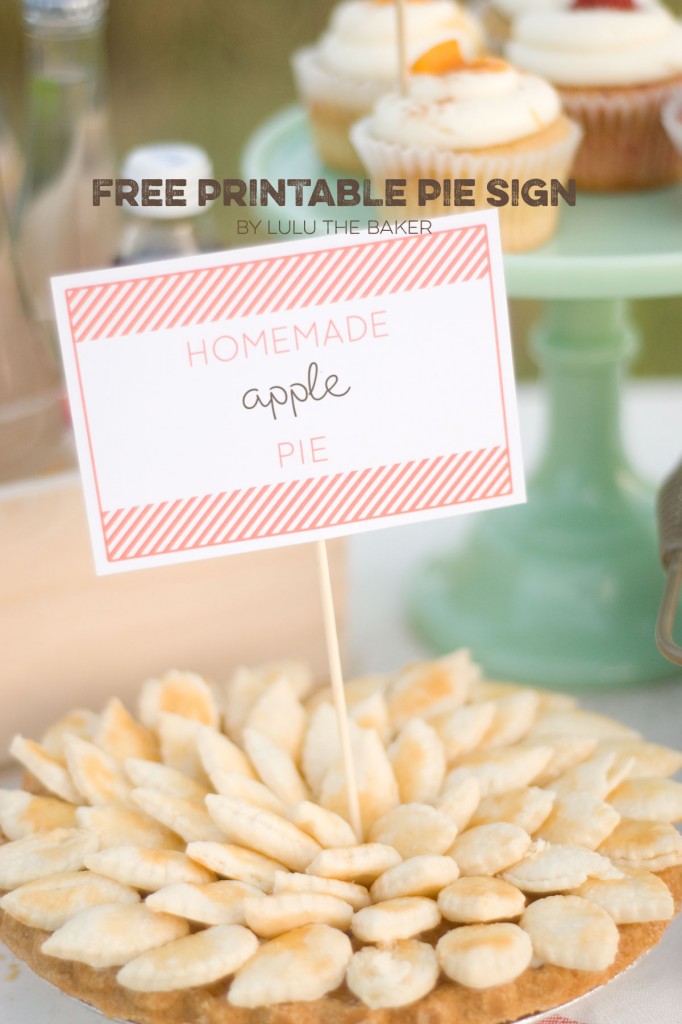
Free Printable Pie Sign AND Peach Pie Recipe by Lulu the Baker
Wow! What great autumn projects. I bet you can hardly wait for tomorrow to see what’s next. And I don’t blame you. They are going to be great!!
See you tomorrow!
This post is being shared with: Skip to my Lou and Making the World Cuter
So cute! Thanks for sharing this with us 🙂
Fabulous job! I just made these in a smaller version, as apples, for a treat bag! This is my new, favorite craft.
Apples would be sooo cute!!! These are so easy, right? Love ’em!!!
OK I am paper crafting dense. So are you gluing two different circles once bent in half together? Or is it just a thin line at the bent line of each circle? I thought about gluing them to the stem/stick, do you think that would work? Thanks so much for sharing!
Hugs,
Vicki
Hi Vicki! So I thought that I had already replied to this but I must not have clicked “approve”. So sorry for the delay in responding! So your comment made my day! So what I did is to hot glue gun down the entire fold lengthwise and then stuck another fold to it. And I think once I glue gunned down in the inside fold and then stuck another folded circle inside a circle. It’s just however you need to do it to look nice. Does that all make sense? I hope you make them and like them….they really are darling!