
 Has the good weather reached your part of the world yet? We are just starting to get warmer temperatures and already I am seeing more people outside. These DIY Ice Packs are much more than just a way to cool off. These are perfect for injuries, physical therapy, headaches and boo-boos. Perfect for this time of year when we are spending more time doing outdoor sports. Everybody needs a little love when they are hurt. They are a fraction of the cost of regular gel ice packs, can be made in any size and all for less than a dollar. Less than 50 cents, really.
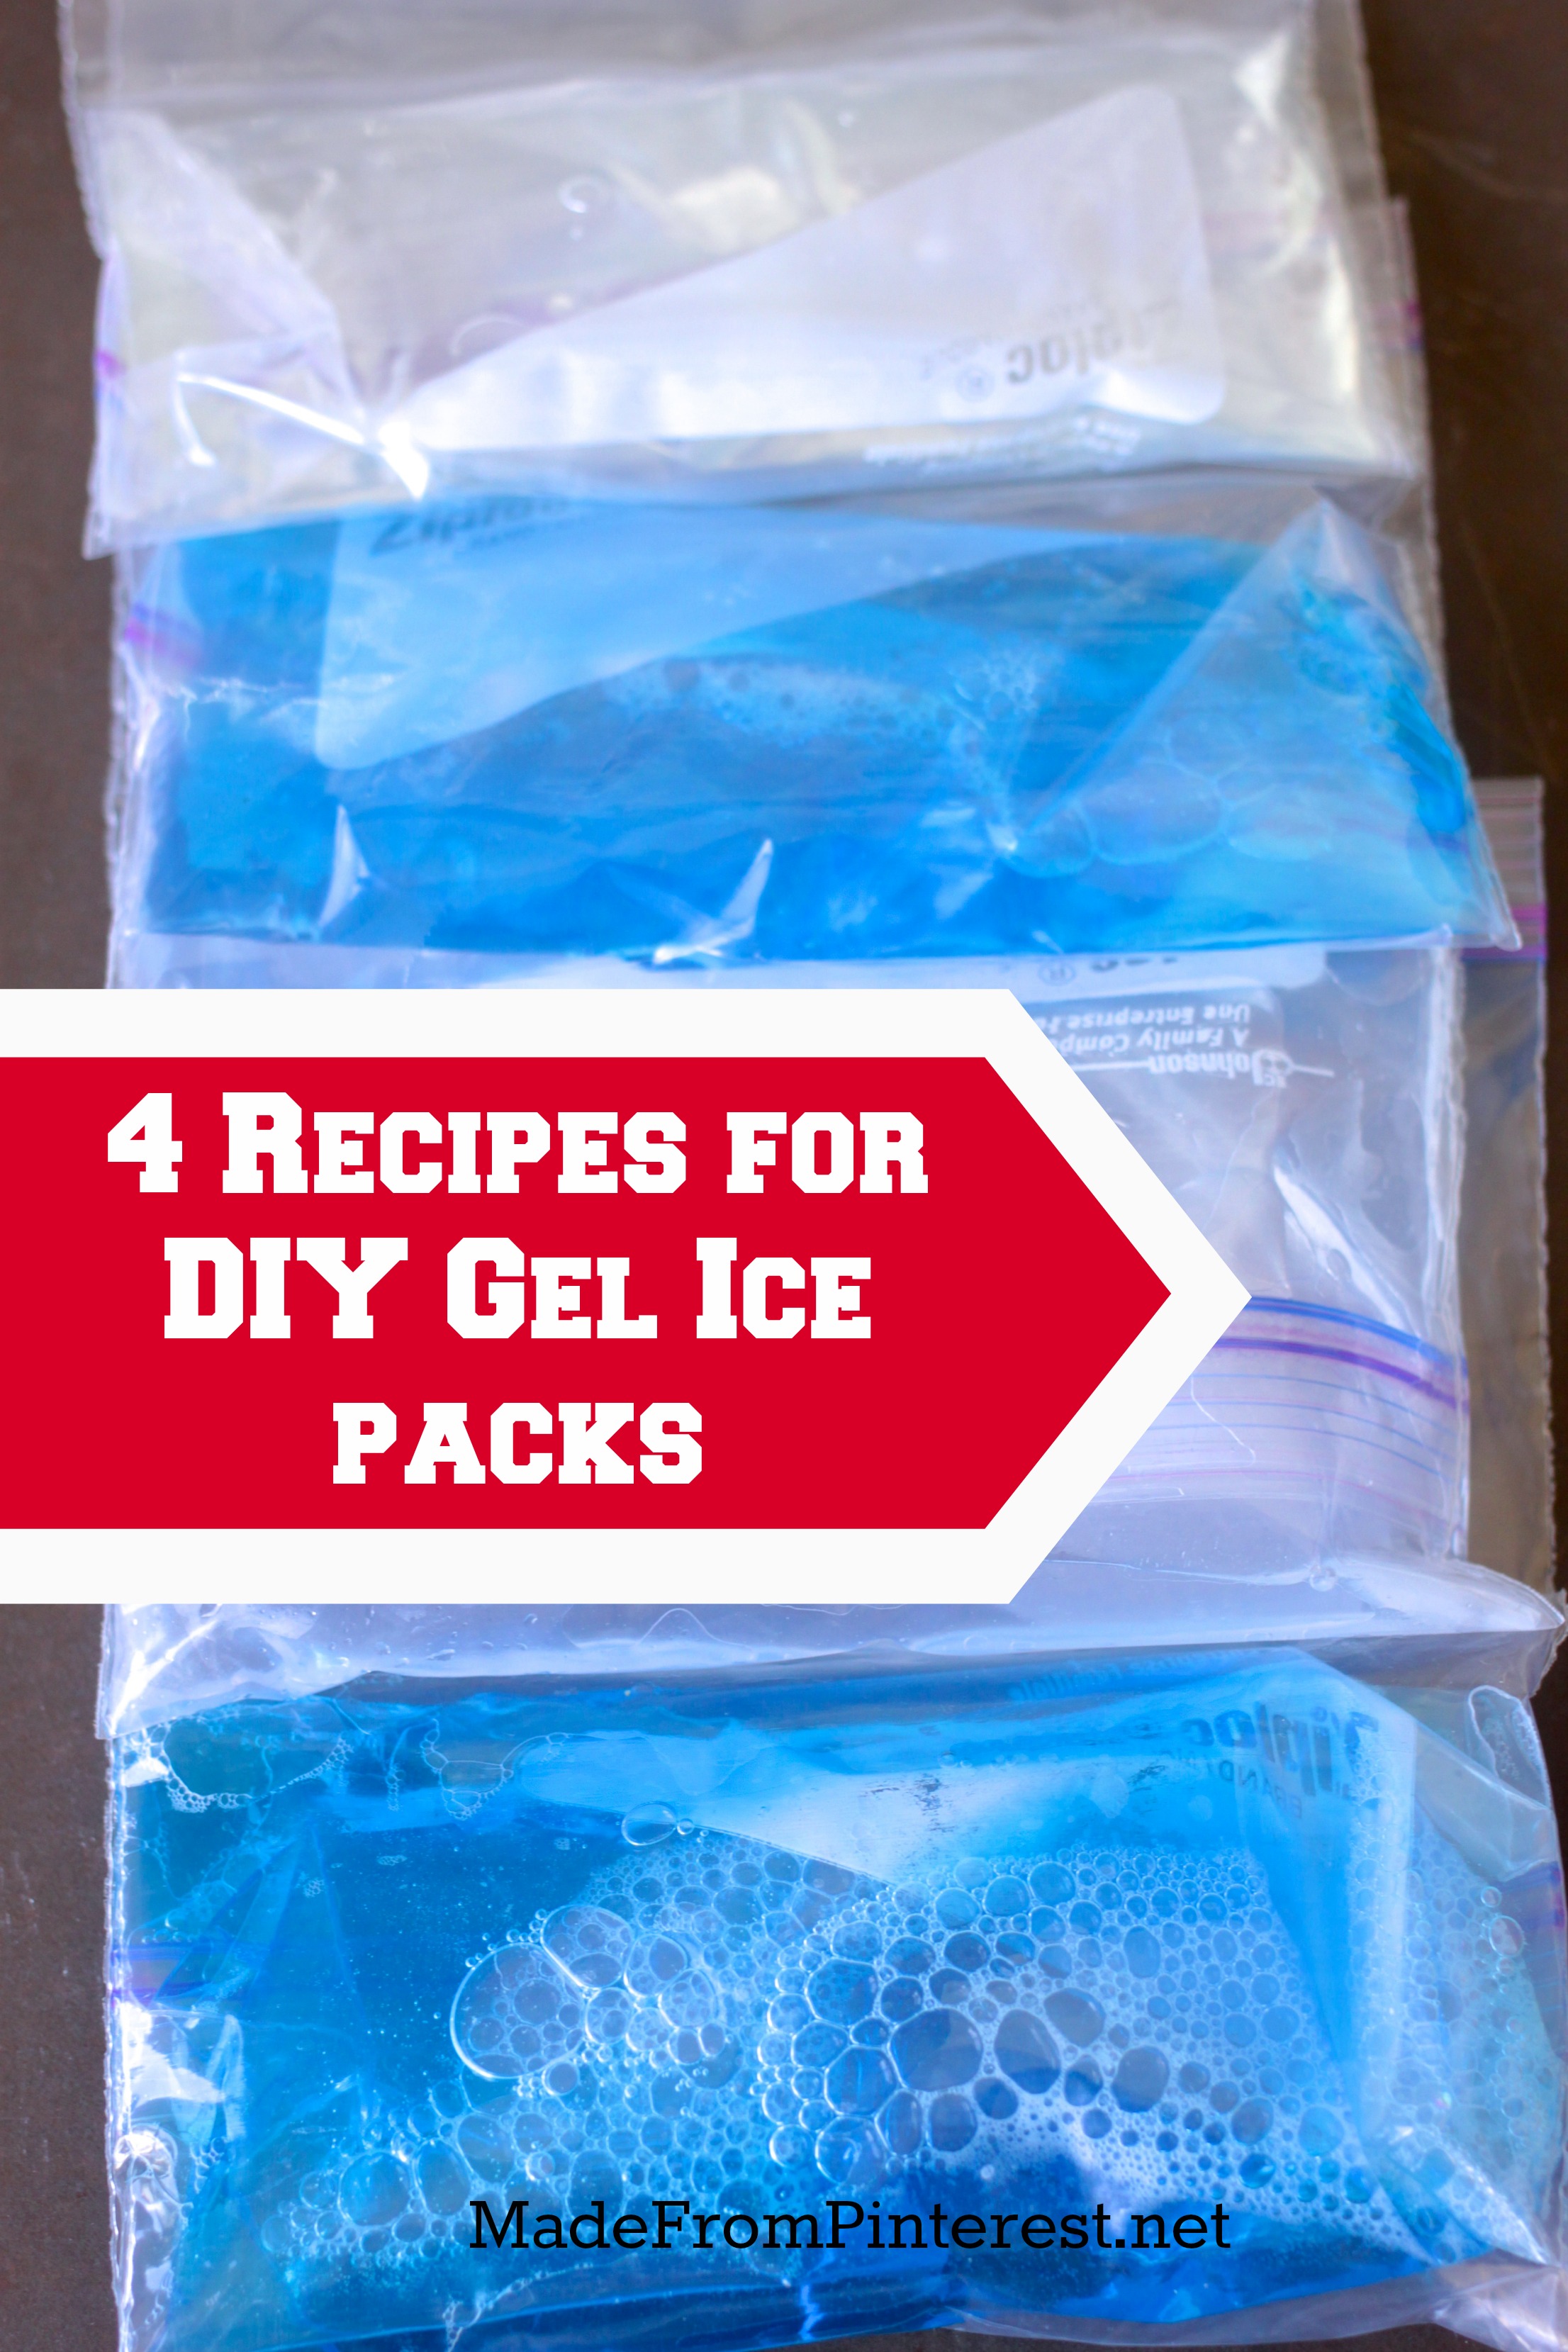
I have pinned several on Pinterest and wanted to see which one really worked the best. The four methods I tested were corn syrup, dish soap, dish soap with rubbing alcohol, and water and rubbing alcohol. They all worked equally well and they were all a success. I like the water and rubbing alcohol method the best, because if it were to leak, this would be the least mess to clean up. It stays soft and flexible, so it will mold to the shape of where ever you place it. These are great to have several on hand so that if you have an injury, there are plenty to rotate through the freezer and you will always have a cold gel ice pack ready to go.
Speaking of leaking – they didn’t. To minimize the risk of leaking after repeated uses, I made sure to double bag them in sturdy freezer bags with a double lock seal just to be sure. If you have a vacuum bag sealer, this is the perfect use for it.
Here are the four methods I tried:
1. (3) parts water to (1) part rubbing alcohol – This one is my favorite. Thanks to Today’s Creative Blog for sharing this great idea. It is recommended by physical therapists, it is cheap, it works perfectly, stays flexible, least mess if there is a leak, and really inexpensive. Booyah!
2. Corn Syrup – Yup. Plain old corn syrup. This one is nice because it stays the most soft and flexible. But in the unlikely event it leaks, it is going to make a sticky mess.
3. Liquid Dish Soap – Ditto from above. Only this time it didn’t stay quite as flexible and the mess will be blue.
4. (2) parts Liquid Dish Soap to (1) part rubbing alcohol – This stays a little more flexible than plain liquid dish soap, but otherwise it is the same.
At a fraction of the cost of commercial gel ice packs, you are going to want to make some today to be prepared because this pin rocks!


I use #1, in a latex glove that I’ve tied securely. Because it never freezes, the glove really molds to the body part that needs ice therapy.
I’ve had one in my freezer for almost 2 years. The alcohol is gradually evaporating, but it is still very flexible, and inexpensive to replace.
Thanks, Bonnie. The glove is a great idea!
I’m curious how you would do this with a vacuum sealer like Food Saver?
Hi Teri. I think the liquid would need to be sealed in a bag and frozen before sealing in the vacuum sealer to make sure no liquid got in your machine. They work really well. I haven’t had any break open on me, but I do double bag with quality bags.