
Is there anything in the world that tastes better than cheese? Chocolate. Okay. Maybe Chocolate. But after chocolate, then it’s definitely cheese. So if you’re like me and you like cheese, you are going to want to make your own Ricotta Cheese from Framed Cooks. The recipe states that you can do this in just 15 minutes and it was true!!
This went above and beyond my expectations and was so incredibly good. In fact, it came out so good it made me feel like I must have some Italian blood in my body because now I can officially make Ricotta Cheese. I know you didn’t hear me, but I just said “Ricotta Cheese” in an Italian accent. Bellisima! I have no clue what that means, but I can say it now that I am part Italian.
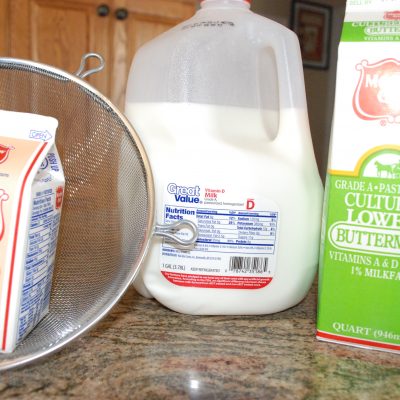
Here’s the lineup of what you will need: Whole milk, buttermilk, heavy whipping cream, a fine mesh strainer, some coarse salt and some cheesecloth: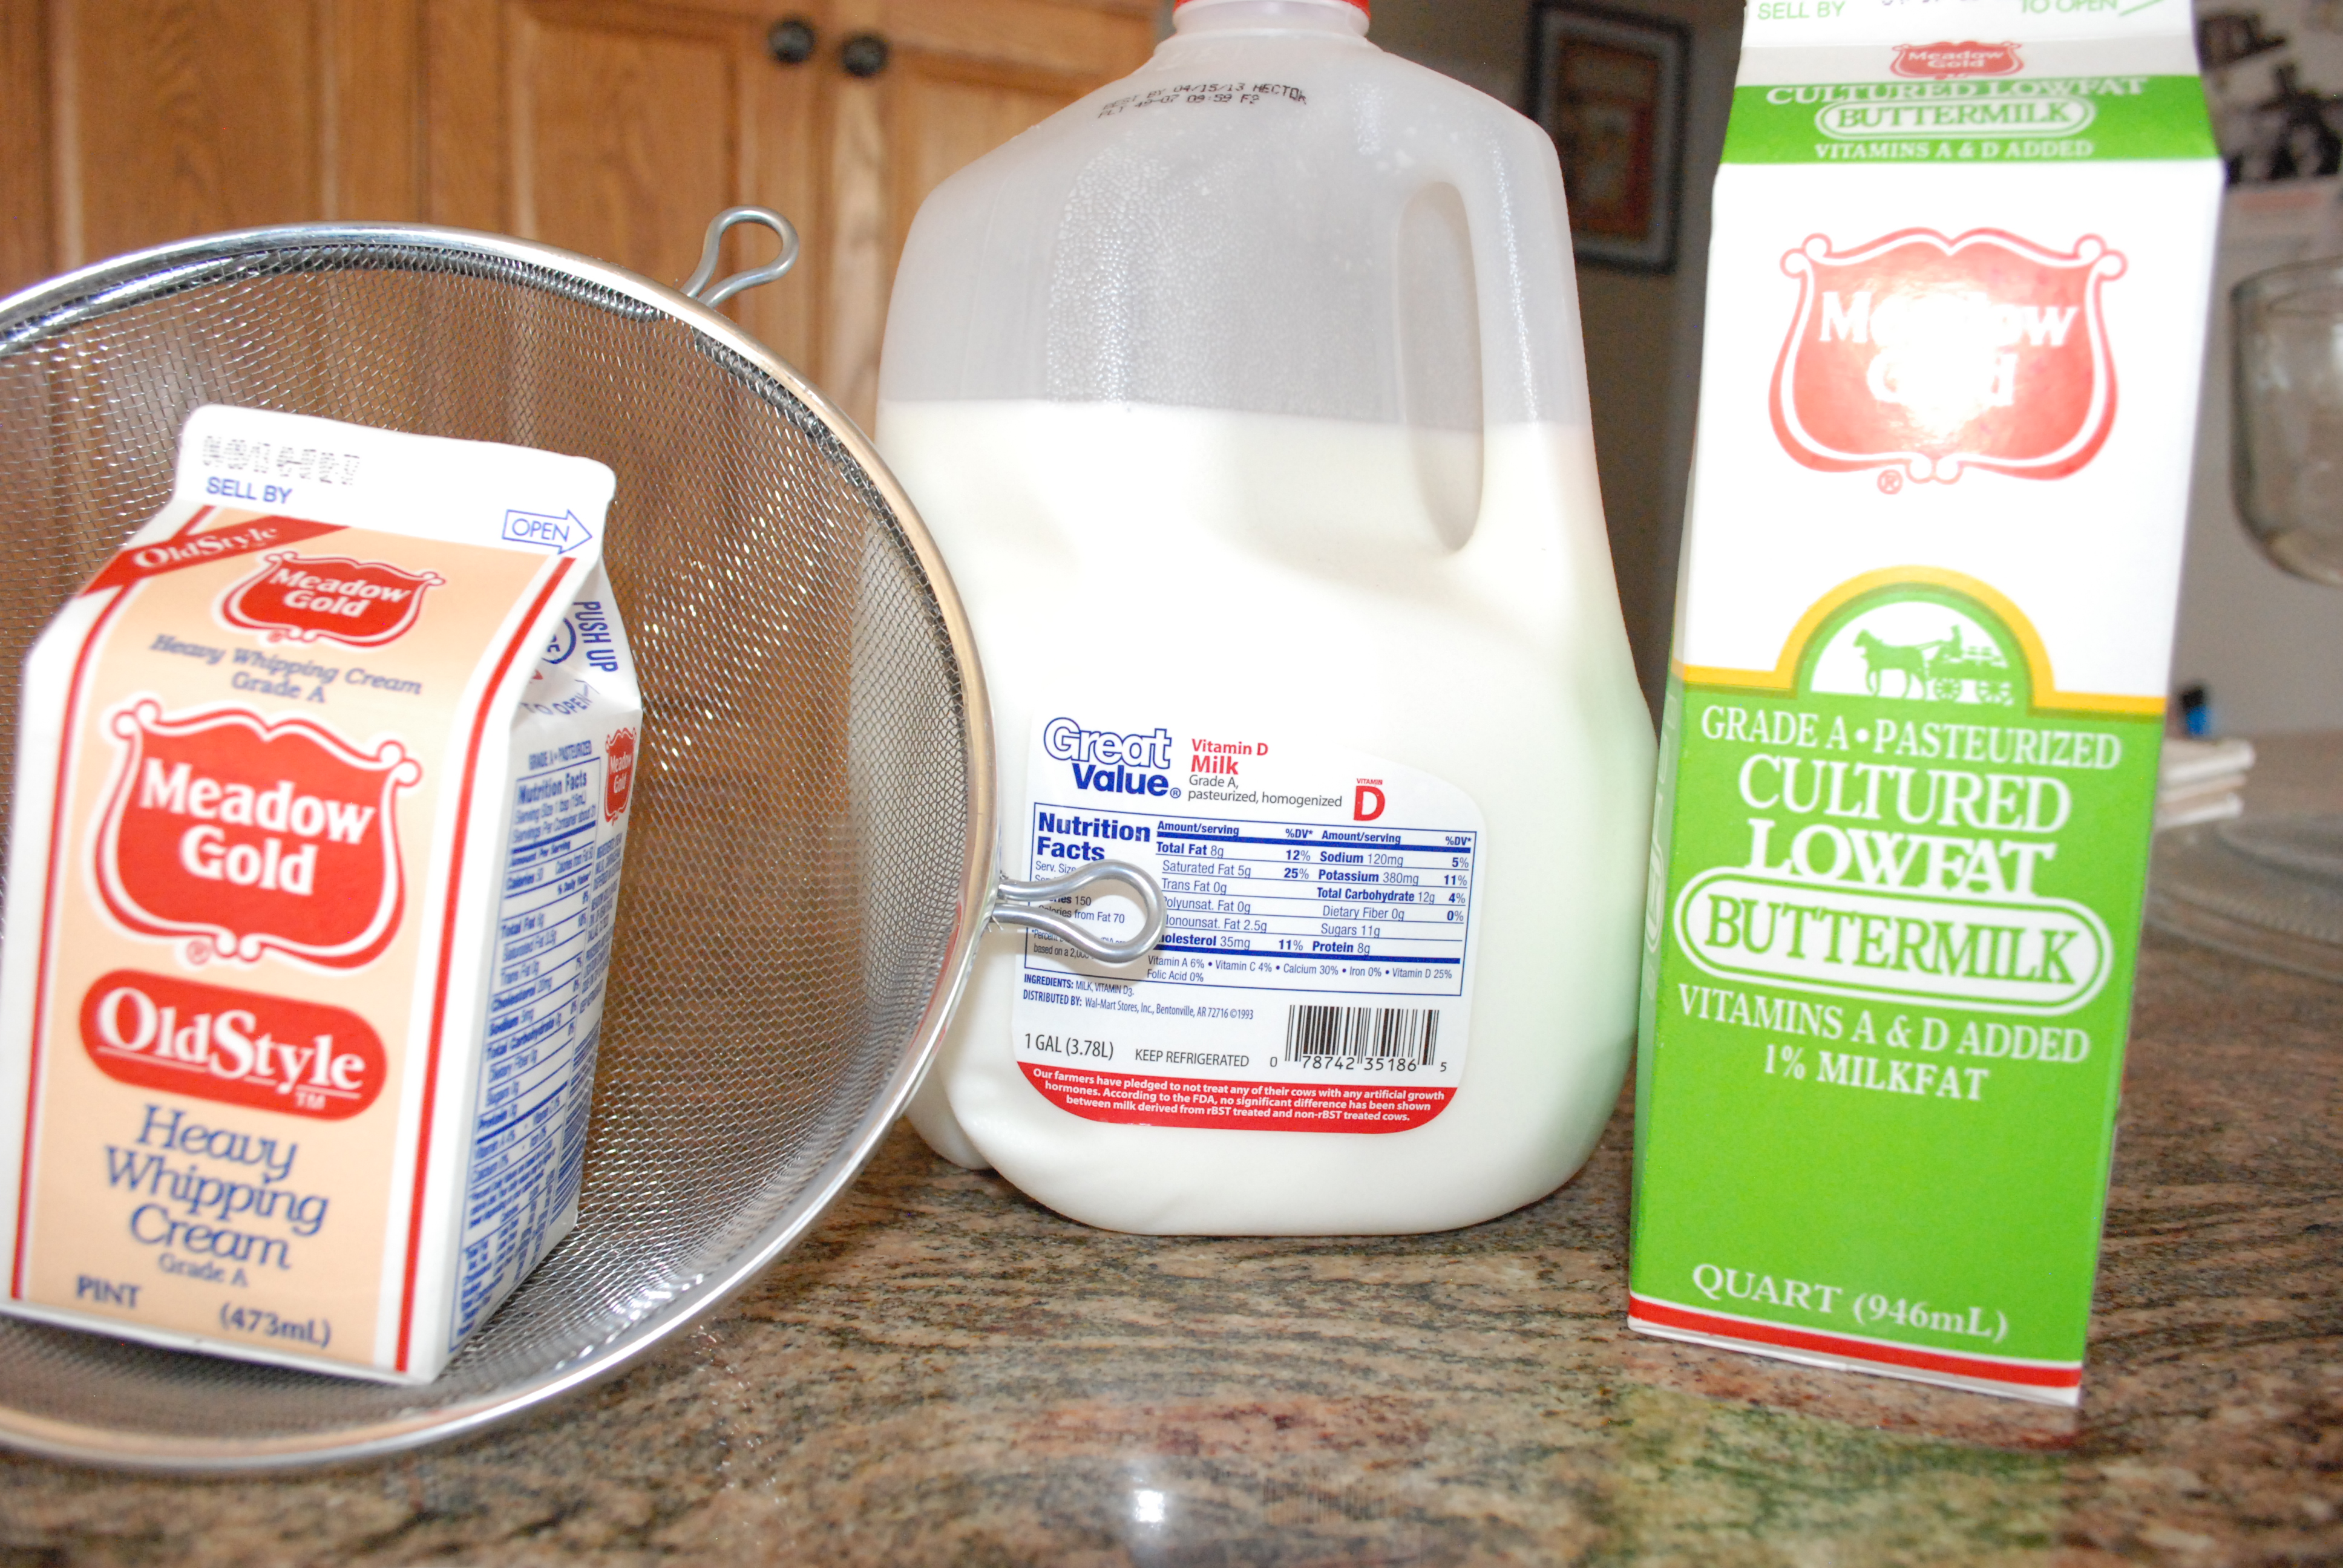
First line your strainer with the cheesecloth. I layered it with four layers and set it in a bowl: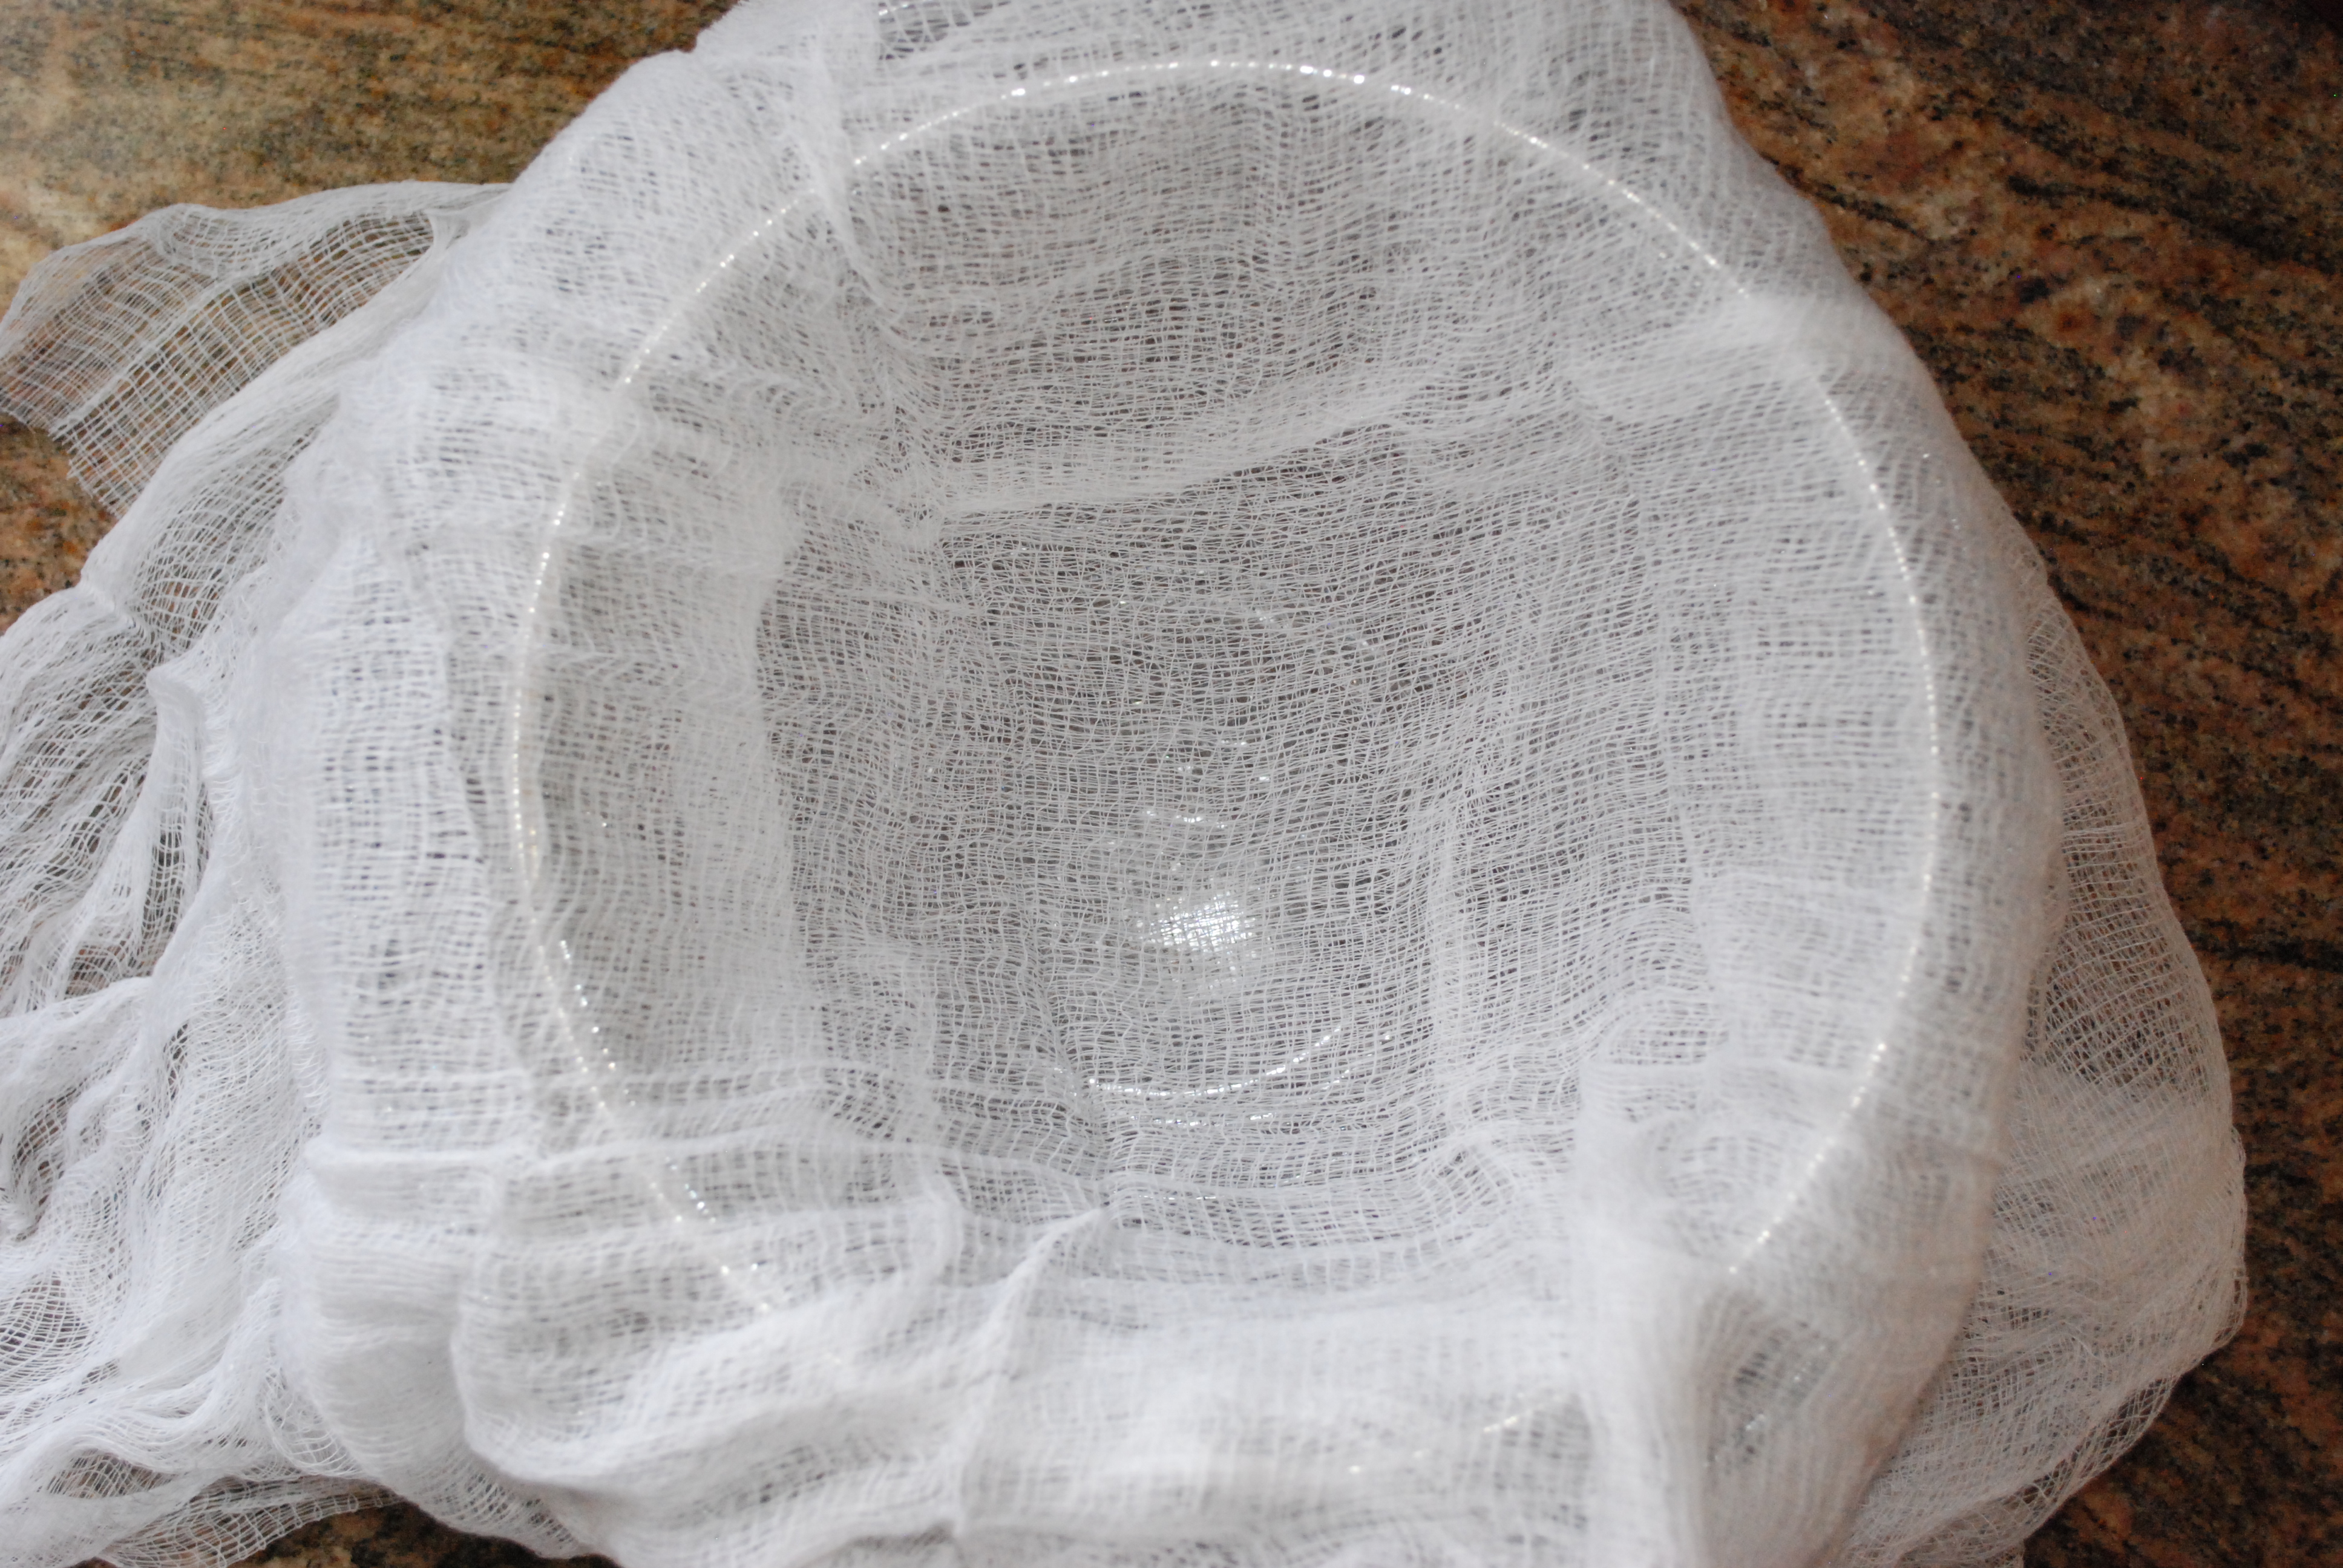
Then in a large saucepan, add 4 cups of milk, 1 cup of buttermilk and 1/3 cup heavy cream. On medium heat, bring to a boil until it reaches 185 degrees. In the recipe, it says that if you don’t have a candy thermometer, not to worry because you will be able to see the curds separate from the whey. My candy thermometer is broken so I winged it. The recipe says that it will take 10 minutes or less for the separation to take place and it took exactly 10 minutes. Booyah! After the curds (solid white parts) have separated from the whey (cloudy liquid part) take a slotted spoon and spoon the mixture onto your cheesecloth sprinkling with a little salt every couple spoonfuls or so.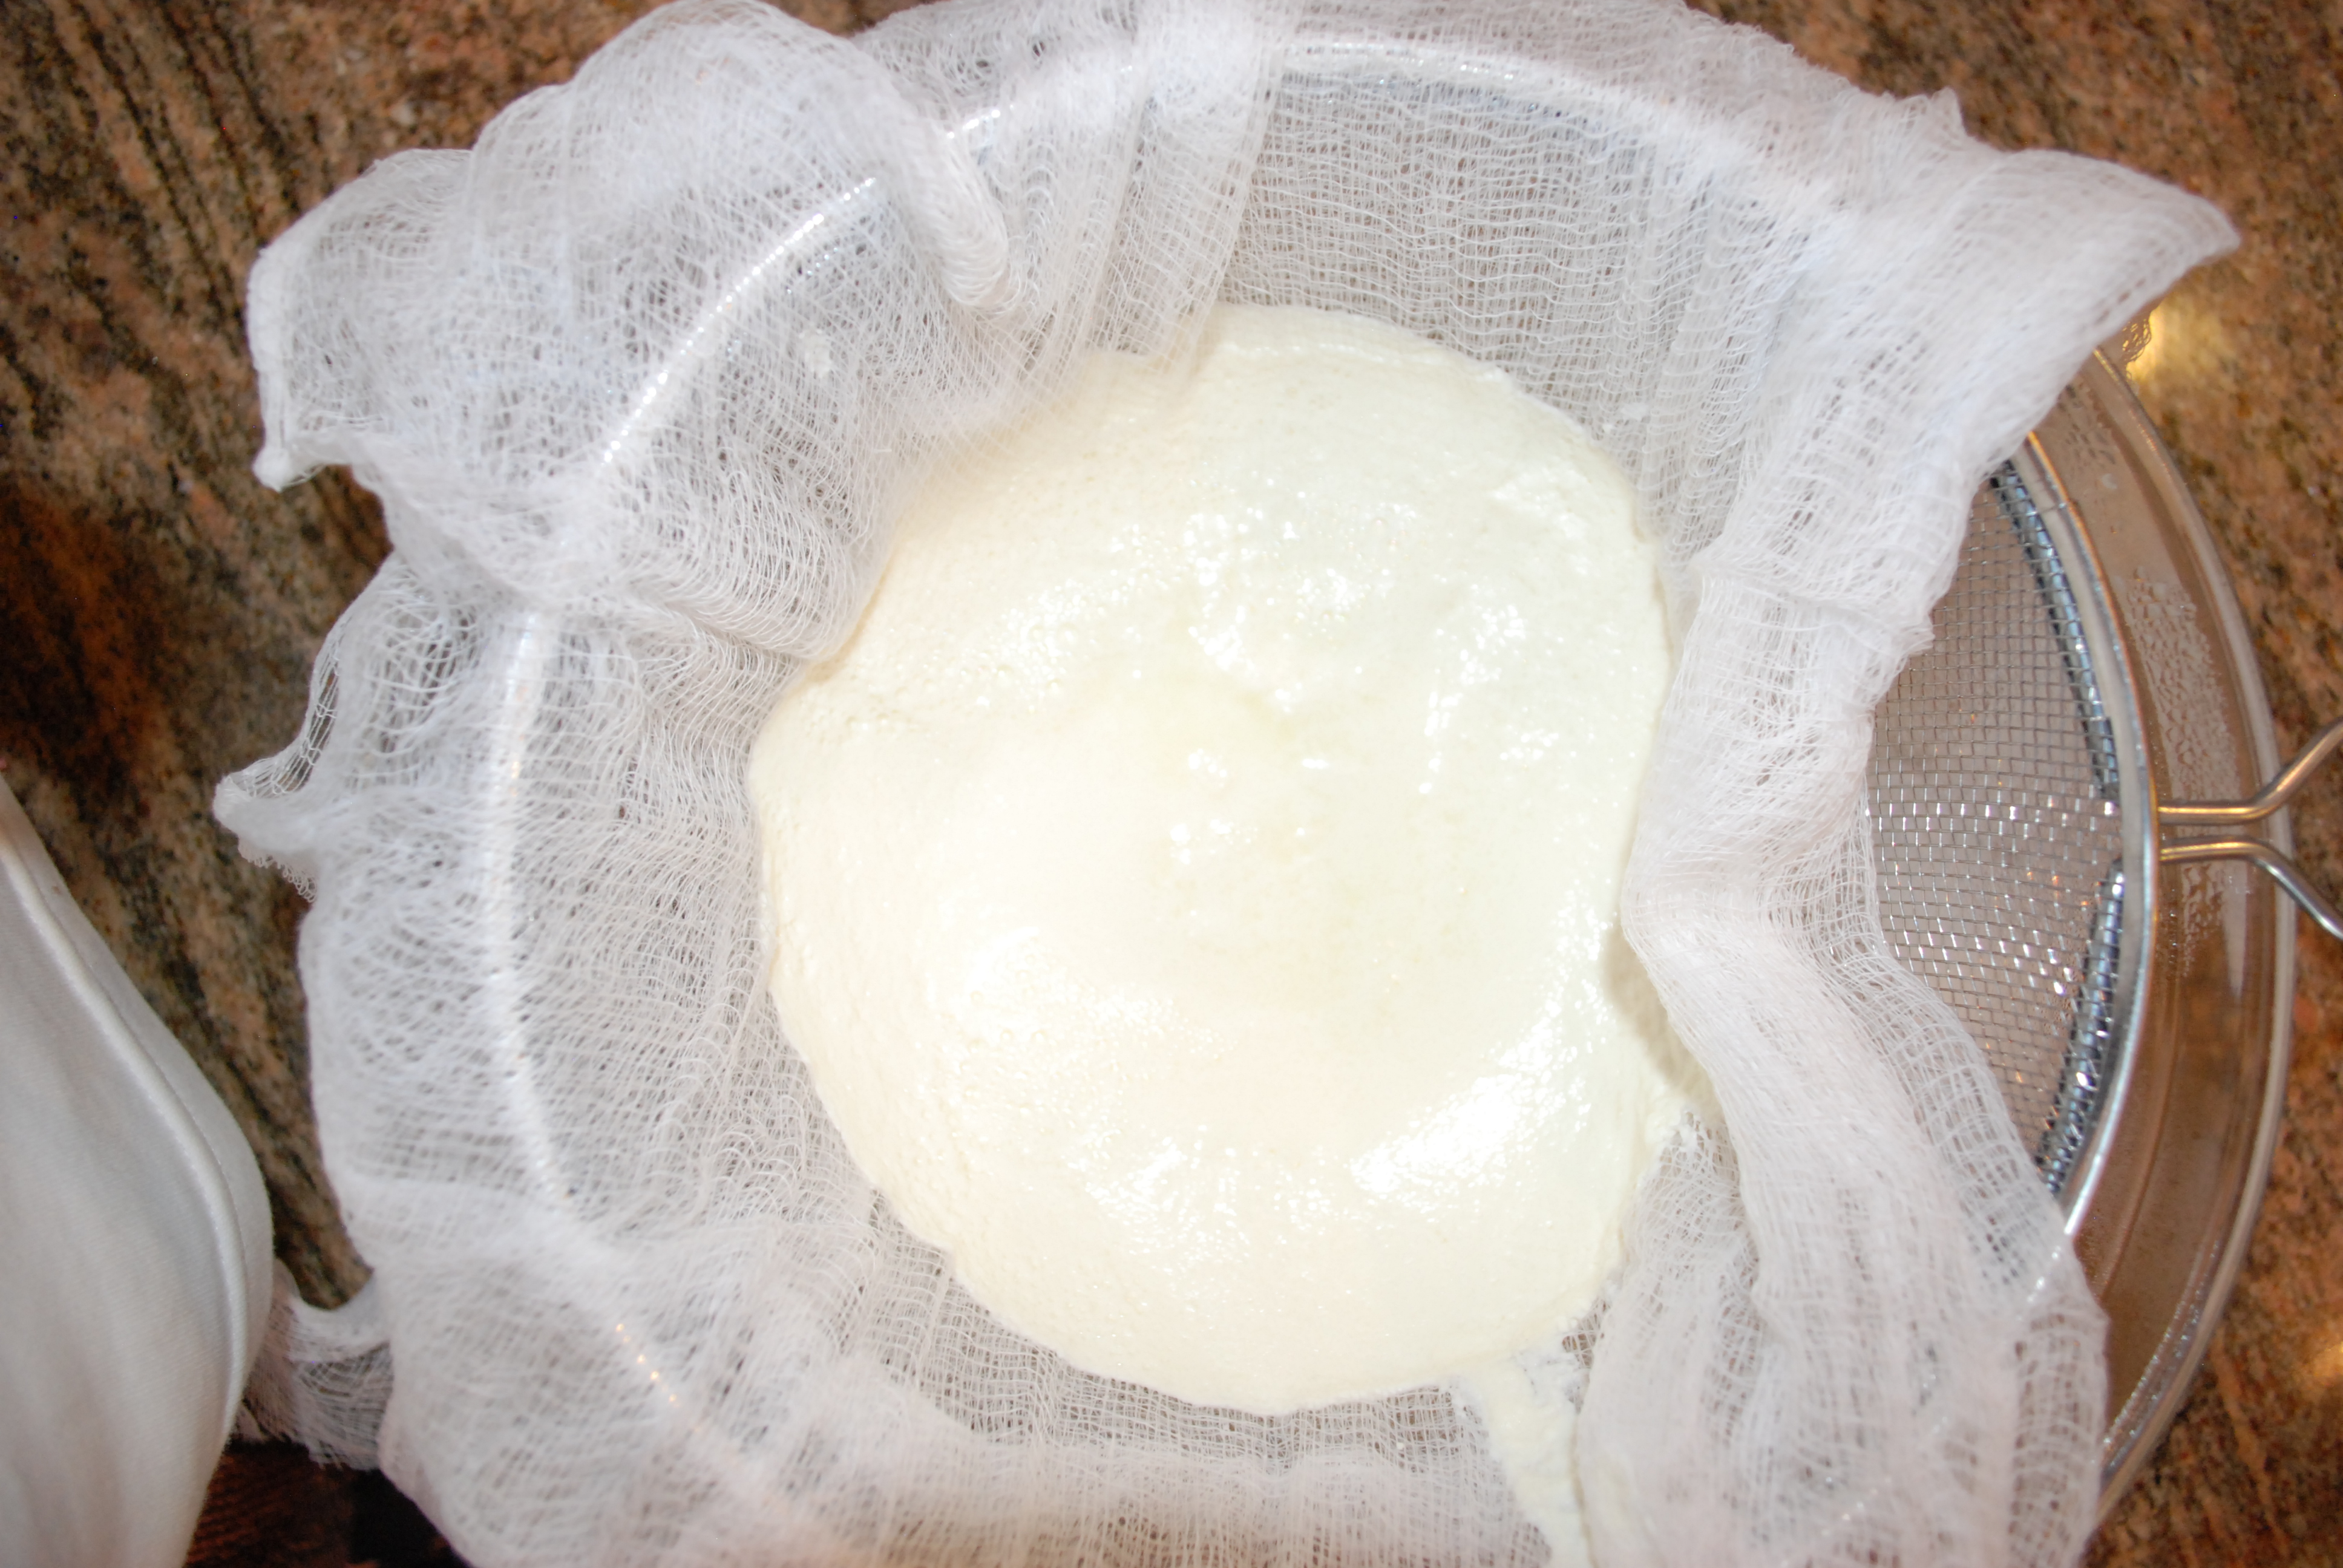
Now you can either let this drain in a bowl or if you want to really impress your family members, you can fashionably tie it to your faucet and allow the extra whey to drip out in your sink.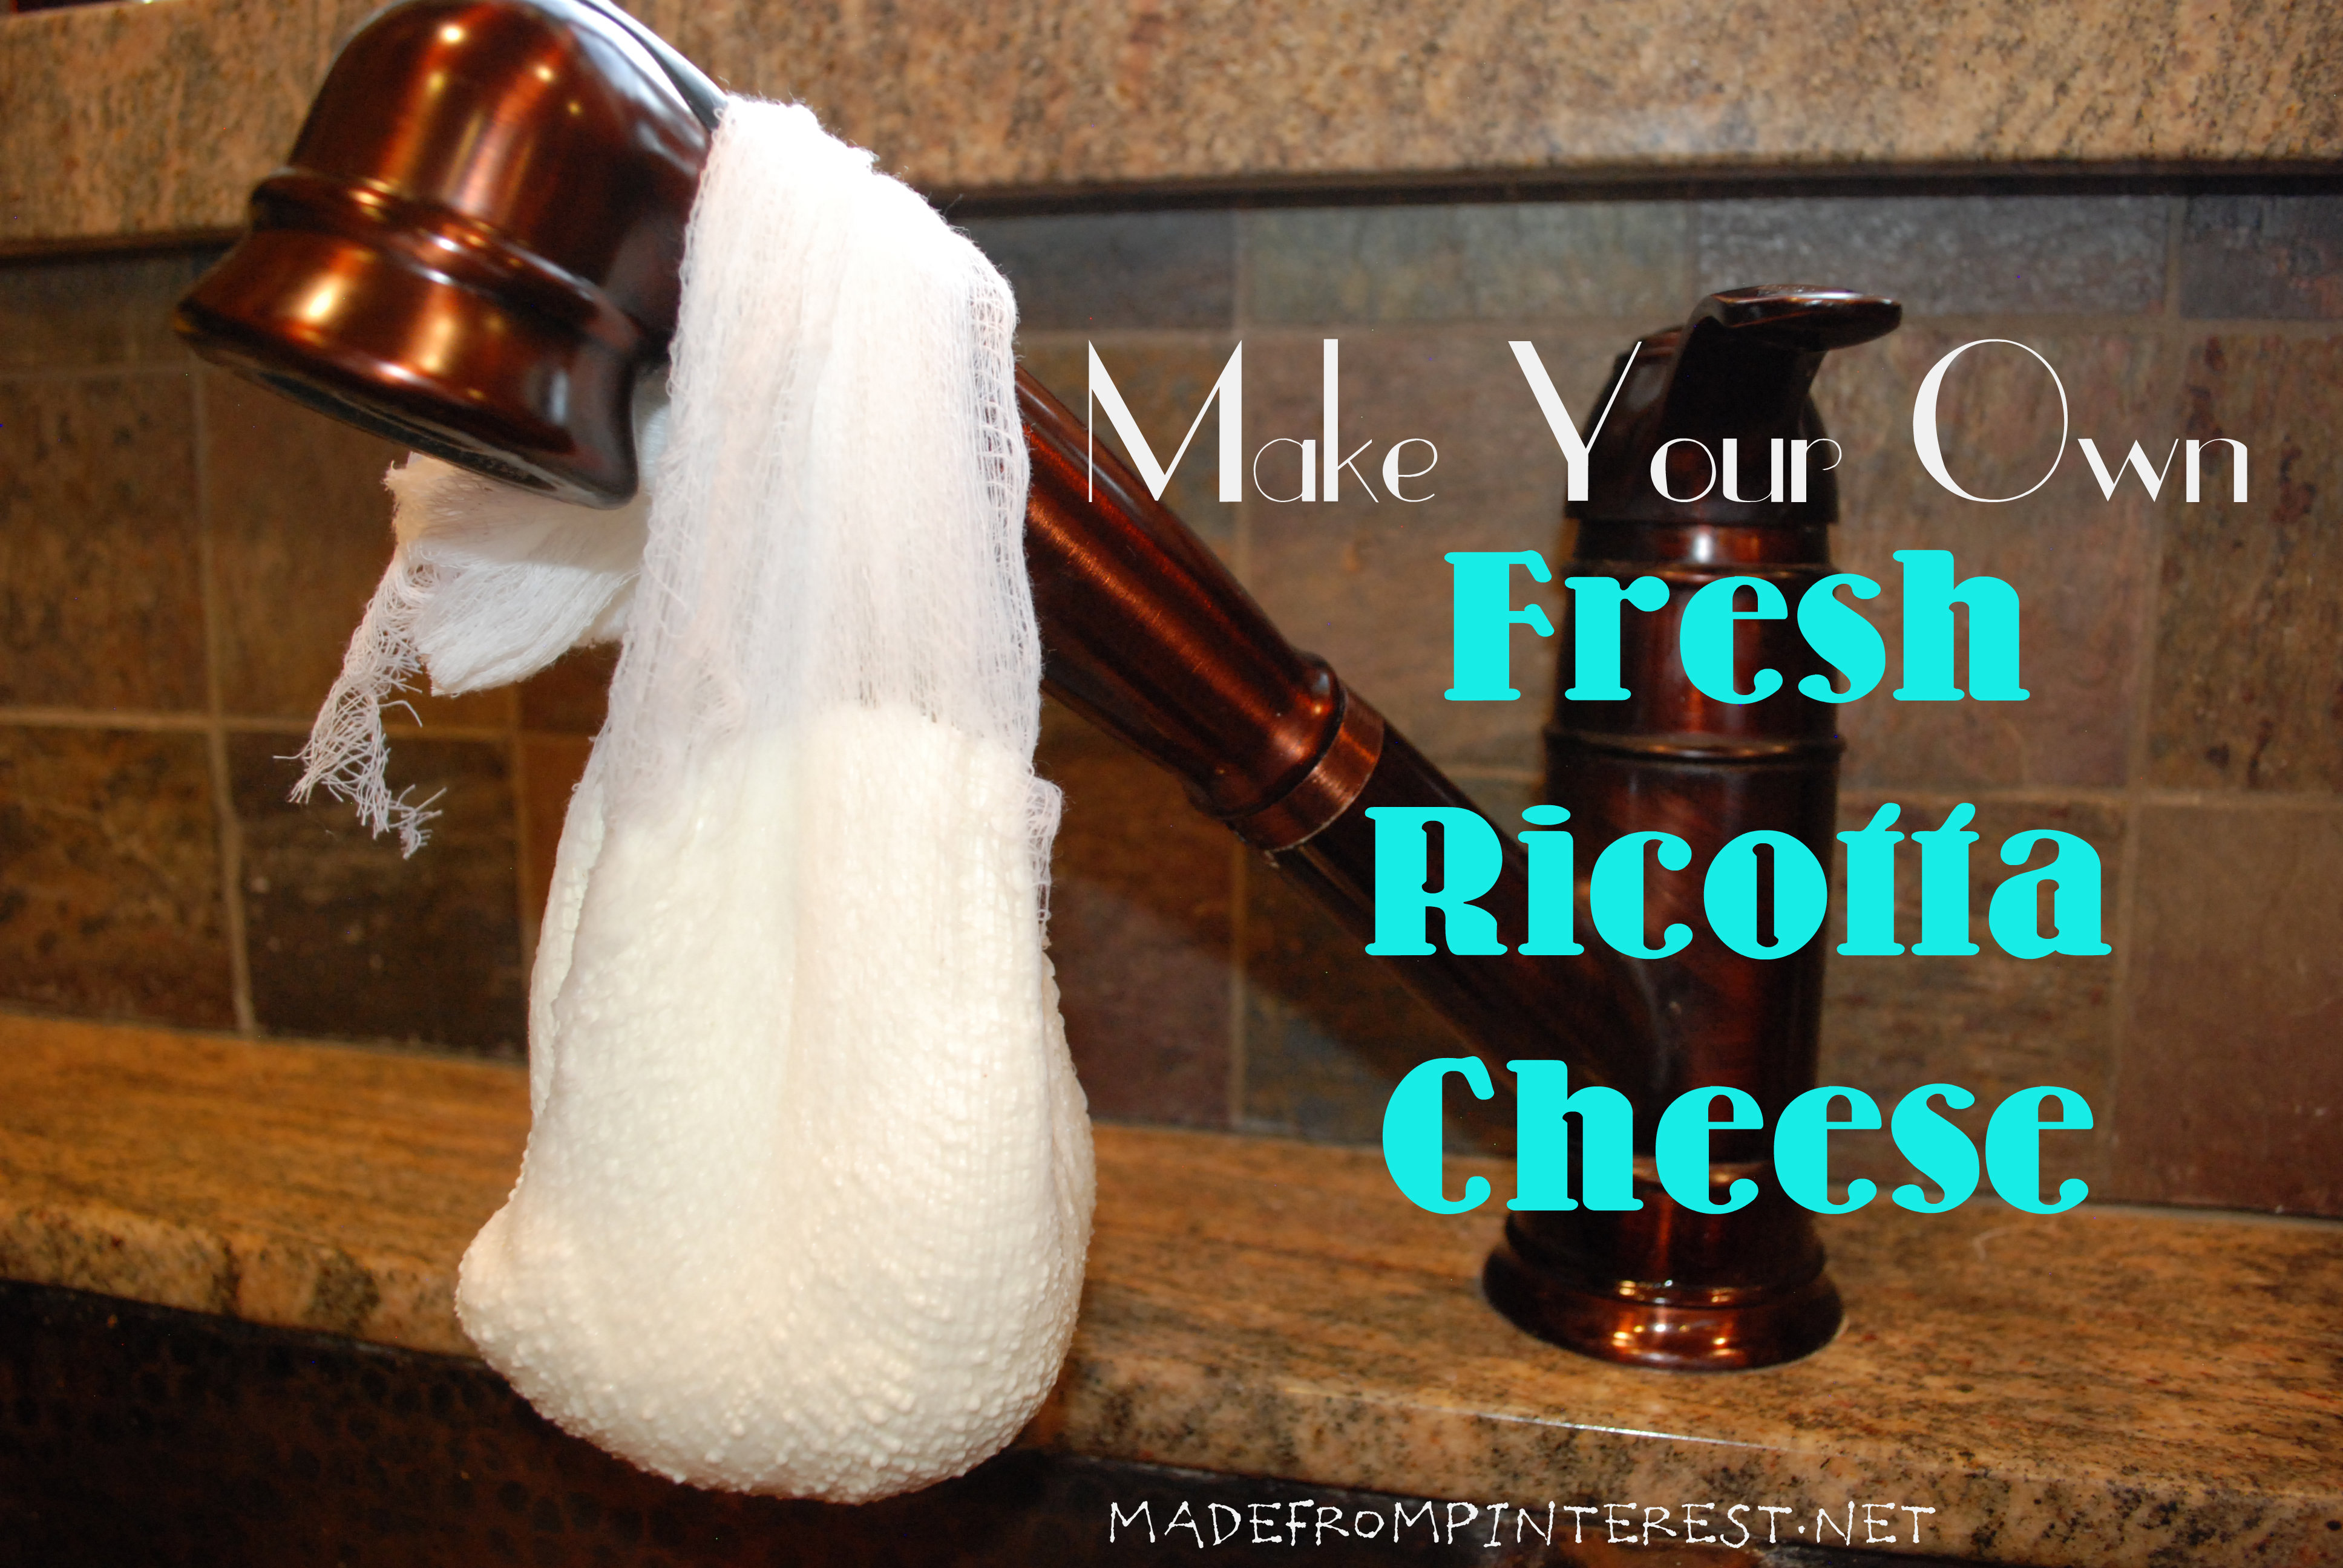
Let drain for about 5 minutes and then you’ve got THEE. BEST. RICOTTA. CHEESE. EVER.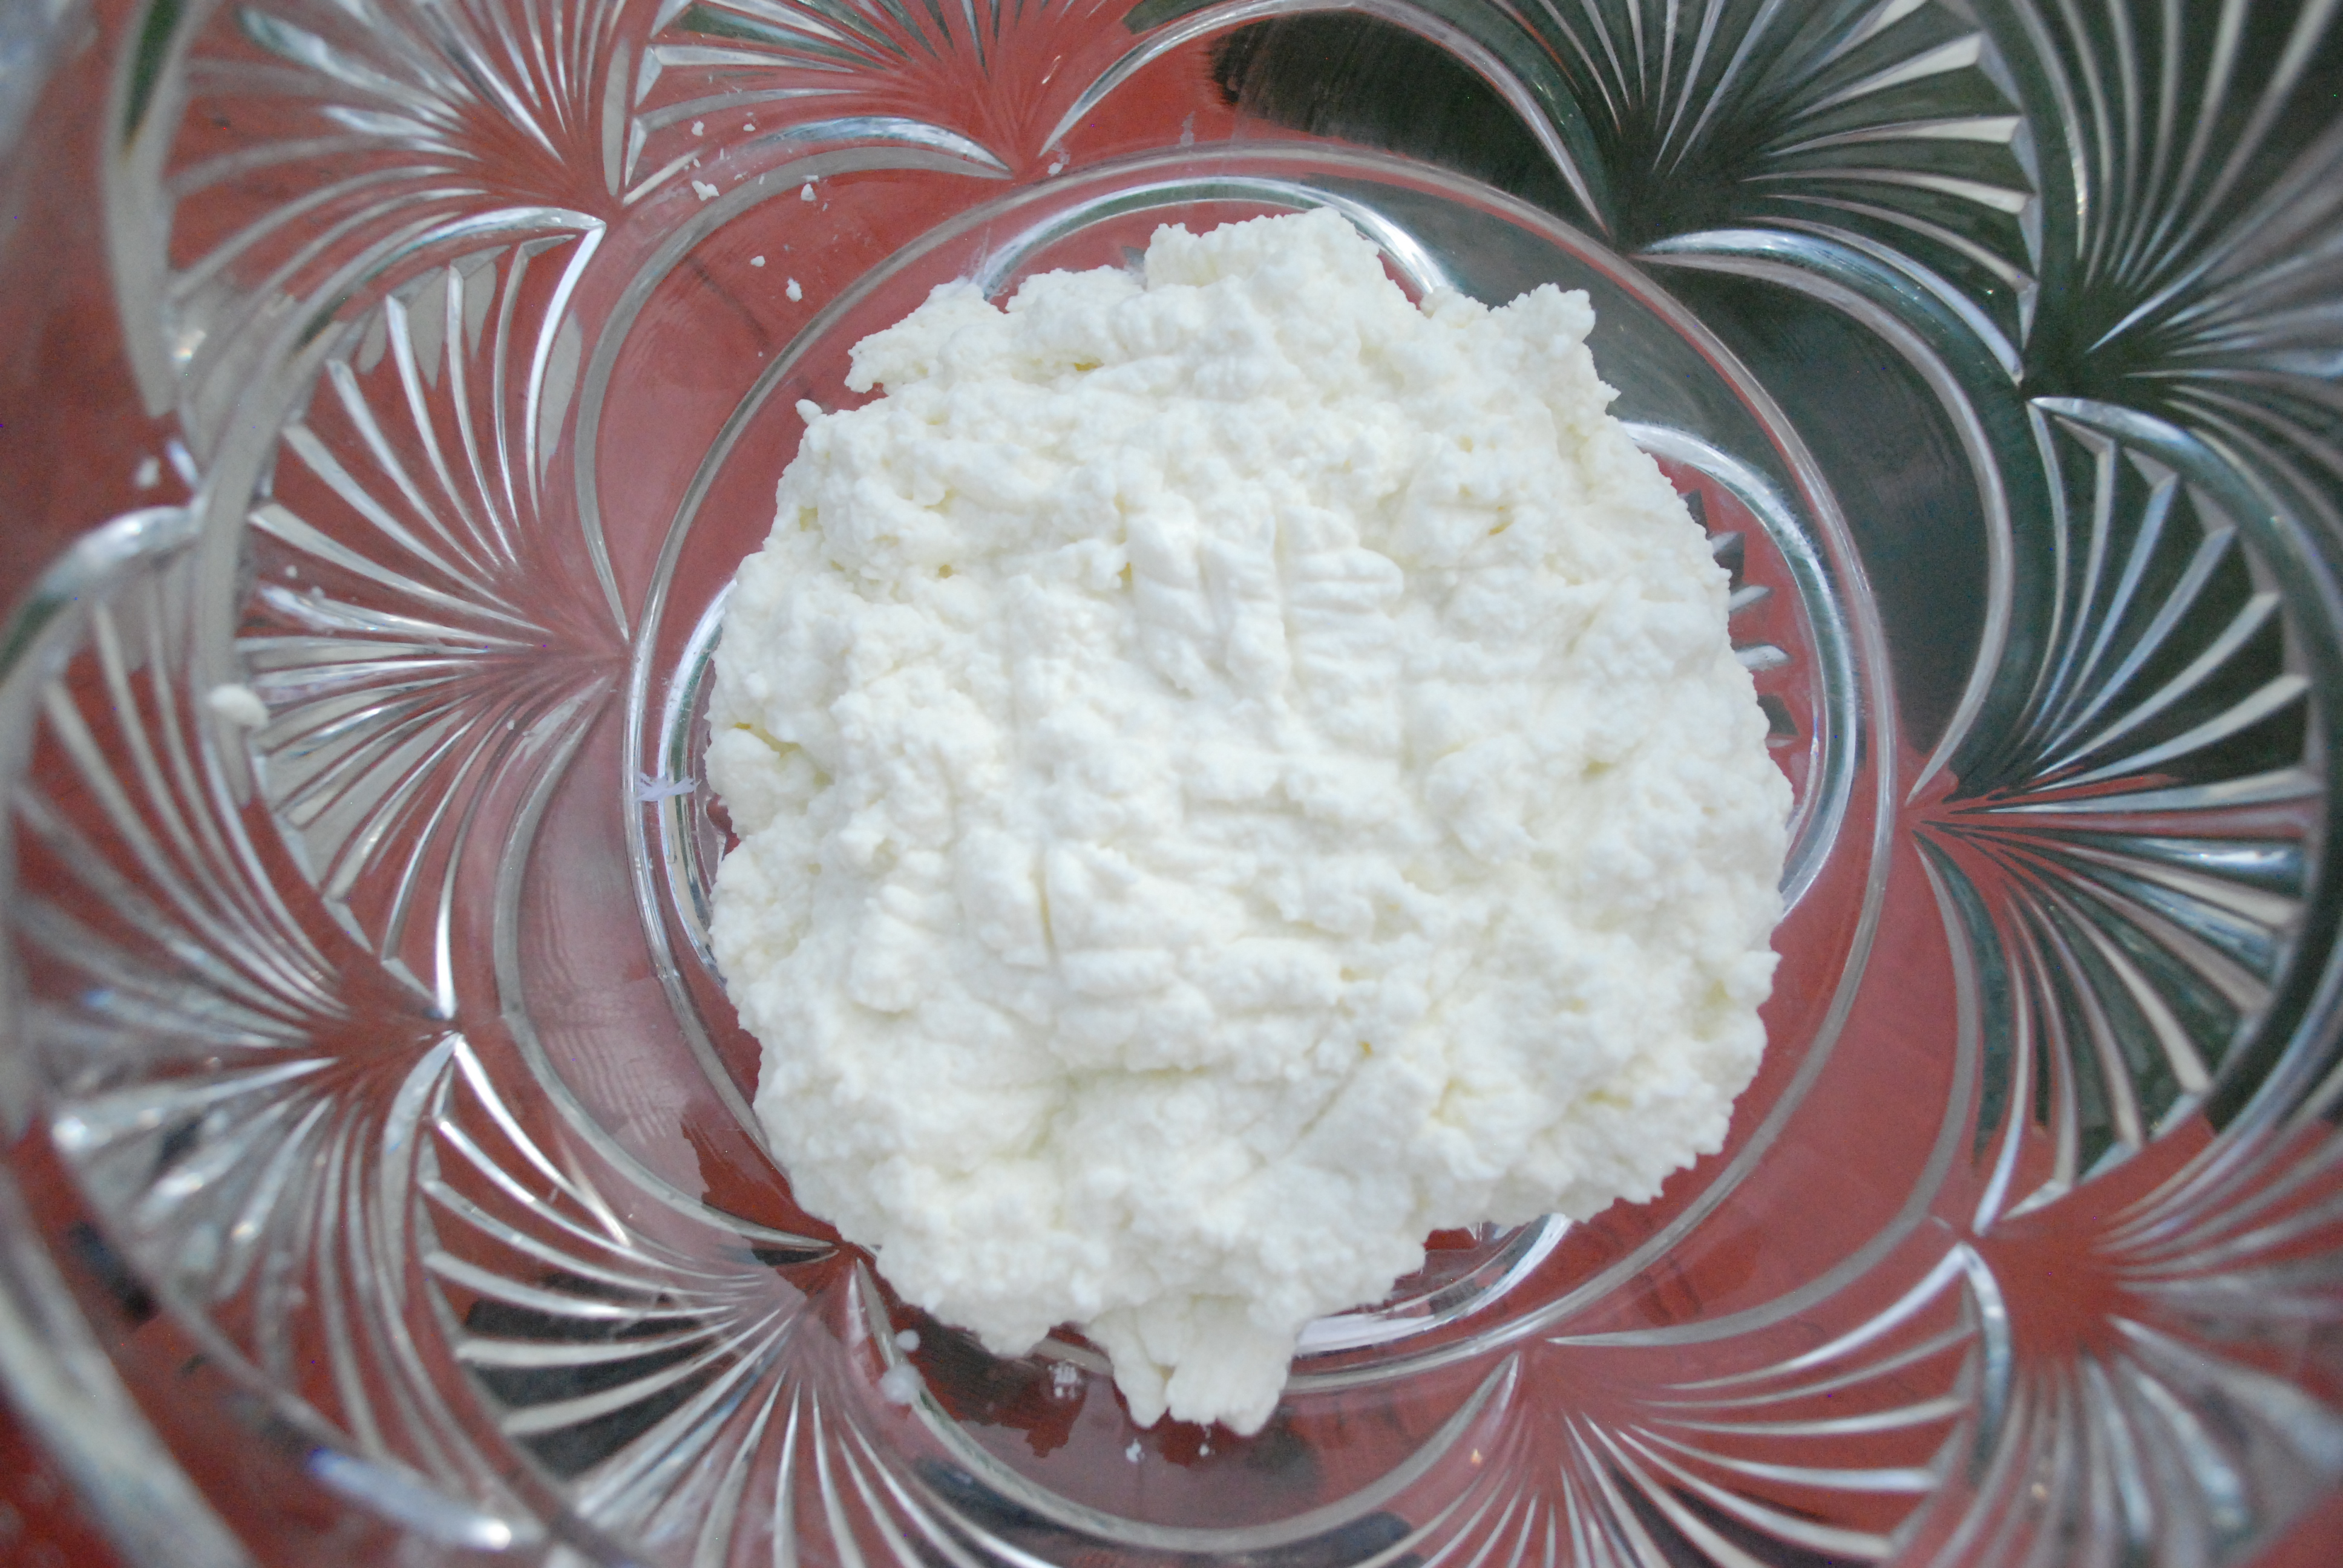
I snuck a taste before it even really cooled down and was immediately addicted! I can’t express enough how amazing this tasted.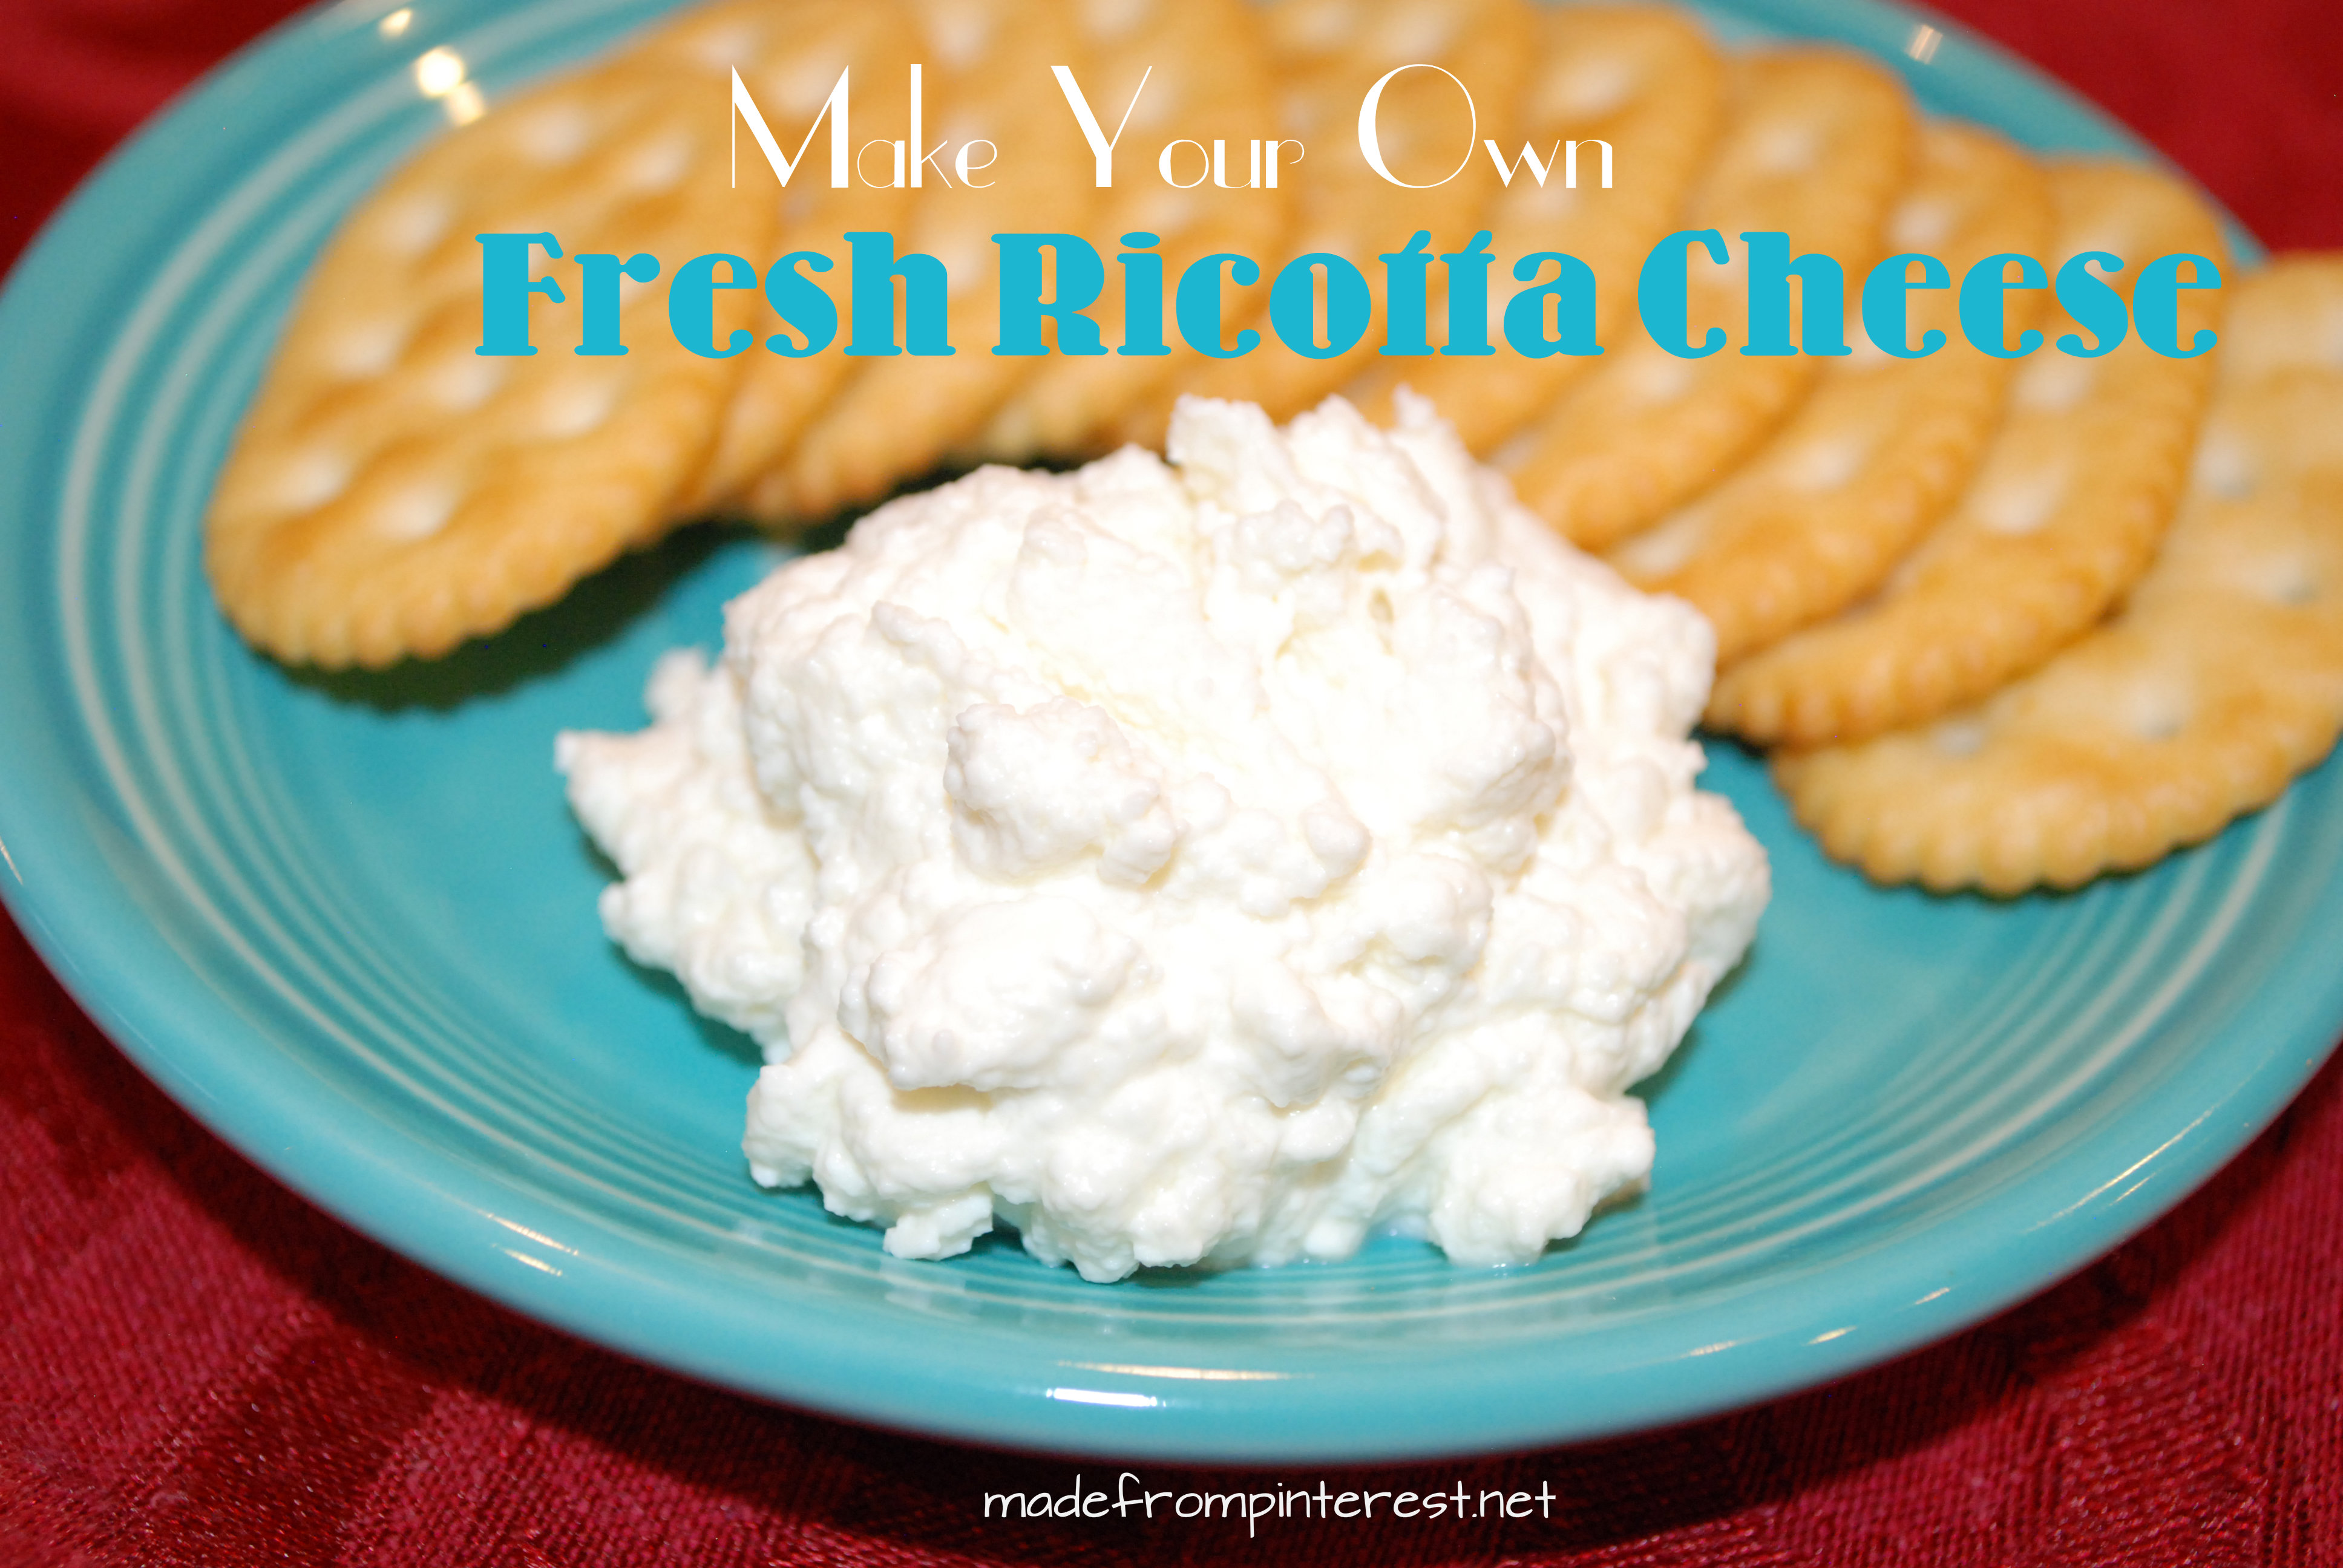
This Ricotta Cheese needs no fancying up. It is incredible just as it is. Trust me. It is Fantastico! That’s Italian for fantastic in case you aren’t Italian. Like me.
It’s no surprise to report that Questo pin rocks!

Make Your Own Fresh Ricotta Cheese
Ingredients
- 4 cups whole milk
- One cup buttermilk
- 1/3 cup heavy cream
- Coarse salt
Instructions
- Line a fine mesh strainer with several folds of cheesecloth and set it in your sink.
- Combine milk, buttermilk and cream in medium heavy saucepan over medium-high heat. Bring to a boil until cooking thermometer registers 185 degrees...if you don't have a thermometer, keep an eye on it to see when the curds (the solid white parts) are mostly separated from the whey (the cloudy liquid). This will take about 10 minutes...stir a couple of times during the boiling process.
- Remove from heat and using a slotted spot, scoop spoonfuls of the curd into the cheesecloth-lined strainer, sprinkling with a little salt every few spoonfuls or so.
- Let the ricotta drain for about 5 minutes and then taste to check the consistency. If you like it drier, then let it drain a little more. If you like it moister, stir in a tablespoon or two of milk. This ricotta is best used right away, but will keep for a day or two in the fridge.
Check out these sites that we are excited to link with today!
Southern Lovely – DIY Crafty Projects – Lady Behind the Curtain – And Sew We Craft – Ginger Snap Crafts – Lil Luna – Real Coake – Daisy Cottage Designs – Kitchen Meets Girl – Housewives of Riverton
This is great! I’ve made my own butter and yogurt but never made ricotta yet. 🙂 Thanks for sharing. I just pinned it! I love trying things from Pinterest so your blog is awesome!
I’m visiting from http://www.artistic31mama.com and the Mom’s Monday Mingle. I’m one of the co-hosts and am so glad you joined us!
I’m following via all your social media. 🙂
Hi Faith! I’ve made butter too and was a little nervous to do this but it was SO easy! Thanks so much for your kind comments and we’ll be back to follow you too! Deb – The Oldest
Ooooooo! I want to try this! How much ricotta does it make? 1 cup? 2 cups? And do you need genuine buttermilk or can you make your own buttermilk? (ie: add lemon juice to milk) Lemme know!!!
Hey Dor! Seriously this is my new favorite thing! It literally took 15 minutes. I’m guessing that it would work with DIY buttermilk, but not totally sure? I just happened to have buttermilk on hand. I know. How weird is that? haha Sure love you! Deb
Oh and it made probably cup and a half? Thanks!
Wow, that doesn’t seem too hard at all. I would have thought it would be hard to make your own cheese. Looks yummy!
Thanks so much for linking up at the Real Family Fun link party! Hope to see you next week.
KC
Hi KC! Yup, it really was THAT easy! Thanks for the comment! Deb – The Oldest
I’ve made fresh ricotta before but with a little different recipe. I wish I could remember where I got the recipe from…I think it was one of the Food Network chefs. If you bake it, it turns out beautiful. I made it lasagna with mine and OMG my family flipped out!!! Here’s the recipe I used:
HOMEMADE RICOTTA CHEESE
4 cups Milk
1 cup Cream
½ t salt
Mix ingredients in a saucepan. Bring to a boil. Add the juice of one lemon. Stir until curds separate. Pour into strainer lined with cheesecloth. Press to form the shape of the strainer. Let sit one hour (don’t let bottom of colander touch liquid).
RICOTTA INFORNATA (Baked Ricotta)
Ingredients
Makes 1
1 pound fresh ricotta
Pinch to 1/4 teaspoon sea salt, plus more for baking
Usalted butter
Directions
Taste ricotta. If it needs salt, add up to 1/4 teaspoon. Transfer to a fine-mesh strainer or colander fitted over a deep bowl. Loosely cover and refrigerate for at least 24 and up to 36 hours.
Preheat oven to 350 degrees. Line a baking sheet with parchment paper; set aside.
Butter the bottom and sides of a small ceramic baking dish. Coat with a thin layer of salt. Gently turn the cheese out onto the baking dish without disturbing its form. Sprinkle salt lightly over the surface of the cheese to create a protective layer.
Place dish on prepared baking sheet and bake until ricotta becomes a rich nutty brown, 1 to 1 1/2 hours. Cool to room temperature. Ricotta infornata may be stored, covered, in the refrigerator for up to 1 week.
Hi Kimberly! I seriously was SO proud of myself to make my own Ricotta Cheese! And was AMAZED at how good it tasted compared to store bought. My littlest sister Sherri, has a husband who LOVES italian food so she is so excited to make this now too.
Your recipe sounds incredible! I can only imagine that with fresh Ricotta that this dish is to die for! Thanks so much for sharing!
Deb – The Oldest