
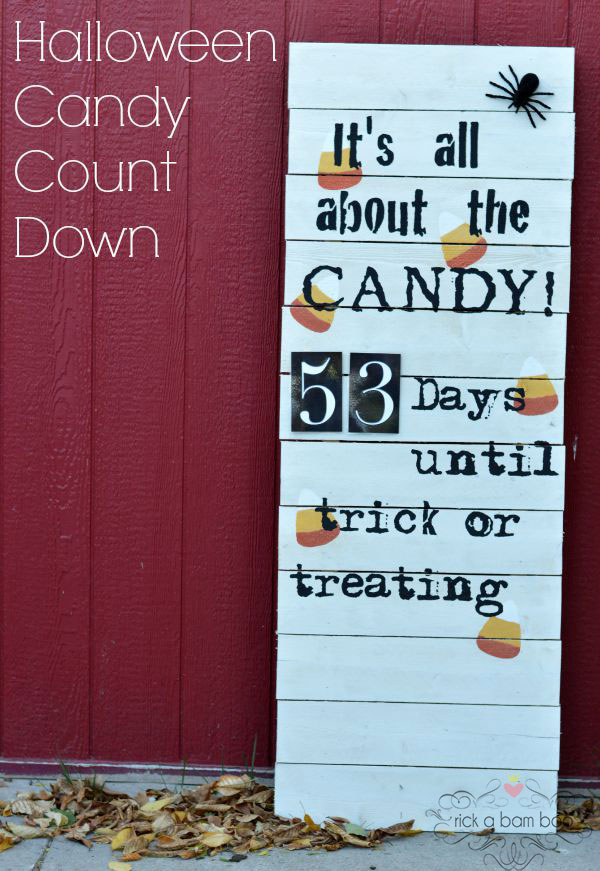
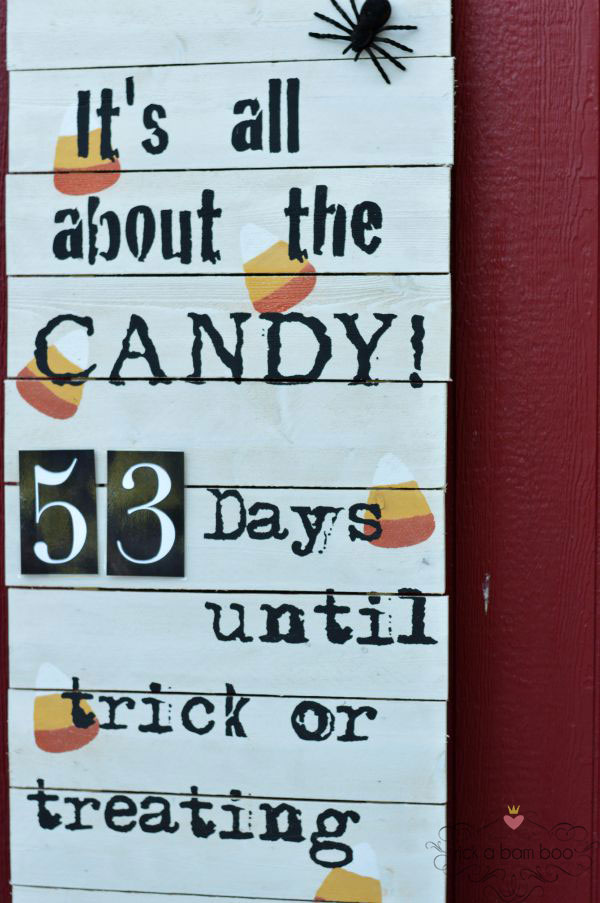
Count down to the most important part of Halloween, the candy, with this adorable DIY pallet inspired sign.
Hello. Amber from rick•a•bam•boo here with another fun DIY post for you. I am so excited that fall is upon us. It’s my favorite season and it contains my favorite holiday. I love, love, love Halloween. So I thought I would take this chance to share a Halloween craft with all of you.
We all know that Halloween is all about the candy. So why not have a count down to the most candy filled day of the year?
My mom found this super cute Halloween count down from I Heart Naptime last year and we just had to make them. And yes, it is actually 53 days until Halloween. So it is time to panic about costumes. Sorry.
We used her instructions as a guide and made a few small tweaks here and there to better suit our needs. We each purchased:
- Four 5 1/2″ x 6′ fence boards and cut them into 2 foot lengths
- Two 2″ x 2″ x 8′ boards and them cut to 5 1/2 feet
Note: I would buy the boards about a week before you plan to make this project and take them home to let them dry. We thought we chose ones that were pretty dry and went home and cut and assembled our signs. The next day we had slight gaps between the boards from them drying out more at home overnight.

To assemble, we just hammered the fence boards to the 2 x 2 pieces of wood. Don’t worry about lining the boards up to make straight sides. It looks best a little wonky.
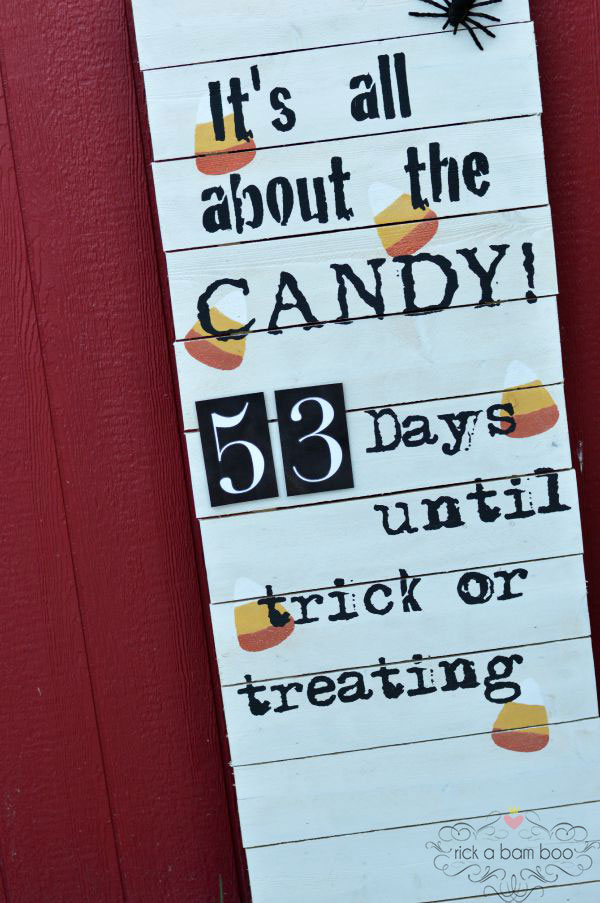
Once it was assembled we used a 1:1 ratio of white craft paint to water to give the sign a white wash. When the wash was dry we used a candy corn shape cut from the silhouette to stencil on a scattering of candy corns. Our candy corns are 5″ x 3.8″.
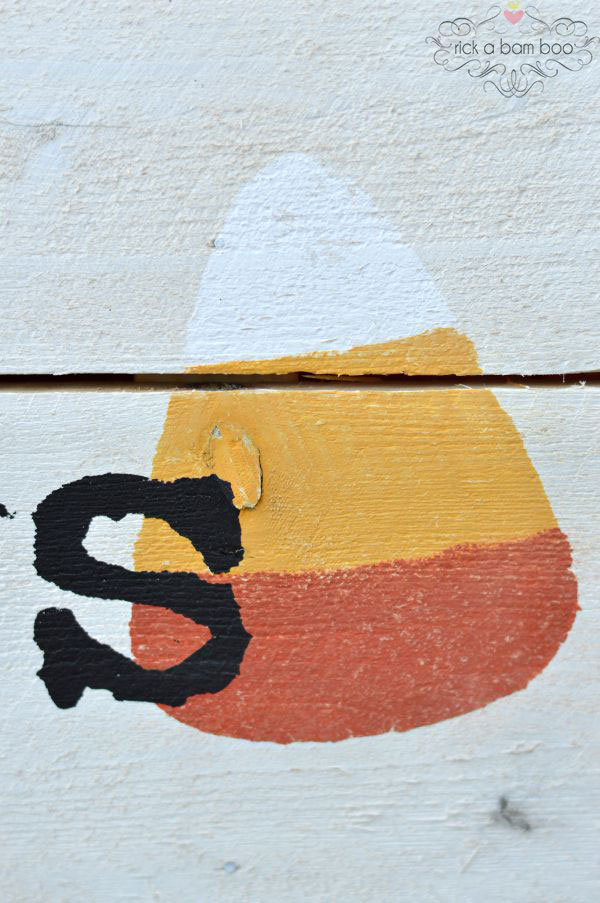
Start with the white and fill the candy shape as much with white as you like. Then move to the yellow and last paint the orange. By going lightest to darkest we were able to free hand them without any issues. They aren’t perfect lines but they still look great.
We also used the same fonts she did, which were Crackhouse, Addict, and Adler. I downloaded them free online. I just Googled the names to find their free sources. Then I set to work figuring out which font we wanted for which text and how big to make it.
“It’s all about the” – Crackhouse at 400.25 pt
“CANDY!” – Addict at 390 pt
“Days until trick or treating” – Alder at 250 pt
numbers – Didot at about 348 pt
Note: You might have to break up some of the words in order to fit them on to the sheets of cardstock. We had a couple of single letters that we had to tack on to the end of a couple words.
We then cut all of the text from cardstock using the Silhouette. Then, using painters tape or masking tape we gently taped the text in place. There is such a big white area on the bottom so that you can stack pumpkins and other fall/Halloween decor there with your sign.
Once we were happy with how it looked it was time to paint. Using a sponge brush, get paint on the brush, dab off the excess, and lightly apply a thin layer of paint while holding the stencil firmly to the sign. You will want to do a couple layers to get the text nice and dark.
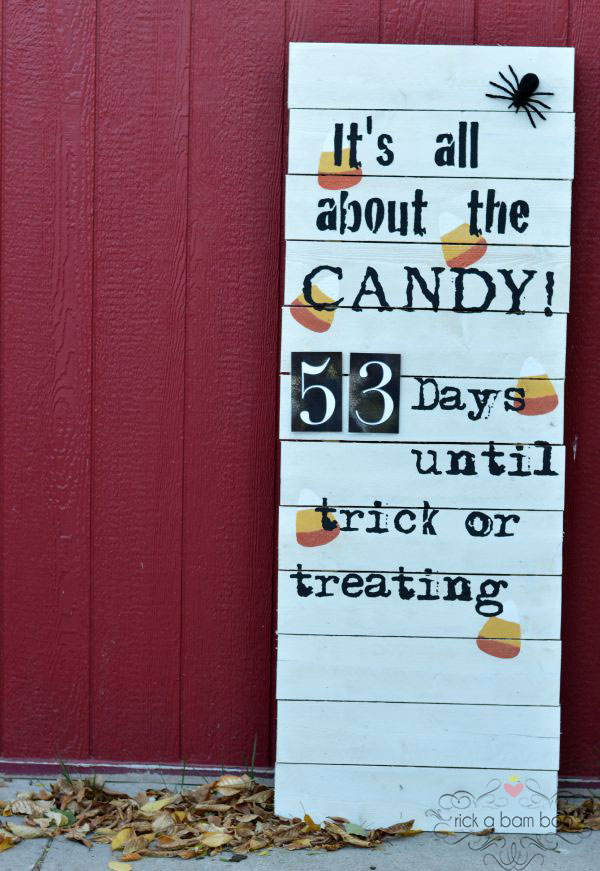
For our numbers we decided that we wanted to make ours weatherproof. We cut the numbers from white cardstock using the Silhouette and mounted them to black cardstock cut to 4 1/4″ x 6 1/2″. Once the adhesive had dried we ran them through the laminator to make them waterproof.
We chose to mount them to the sign with a 1 1/2″ piece of velcro at the top and bottom of each number. That way the numbers couldn’t flap up in the breeze. We adhered the hook half of the velcro to the top of the numbers and the loop part we put on the bottom of all the numbers. Then we used the opposite on the boards to make them stick.
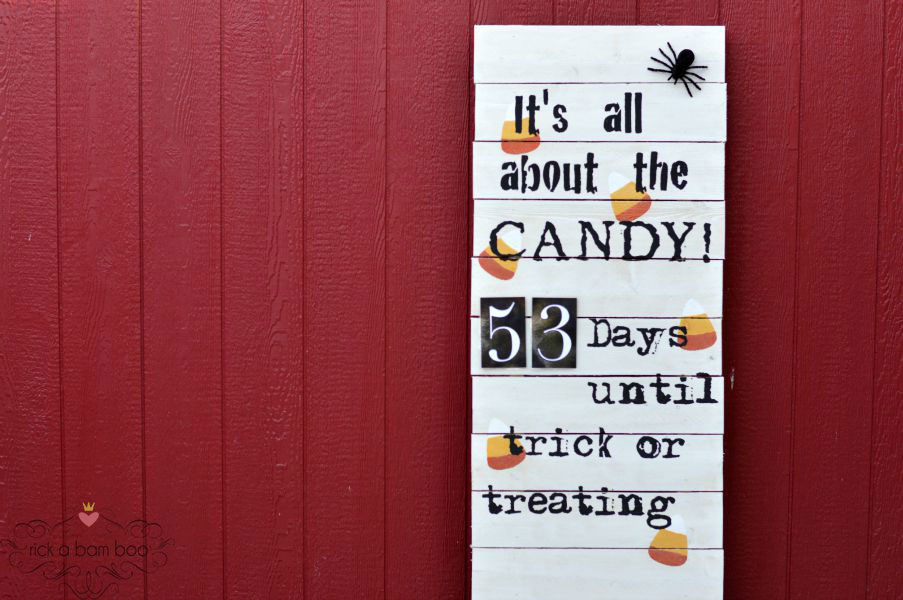
The spider up in the corner we found at Dollar Tree and just velcroed him up there as well.
We joked about making it so you could put three digits up so that you can just start over on November 1st and leave it out all year. However, I think the neighbors might not like their kids counting down to Halloween all year long.
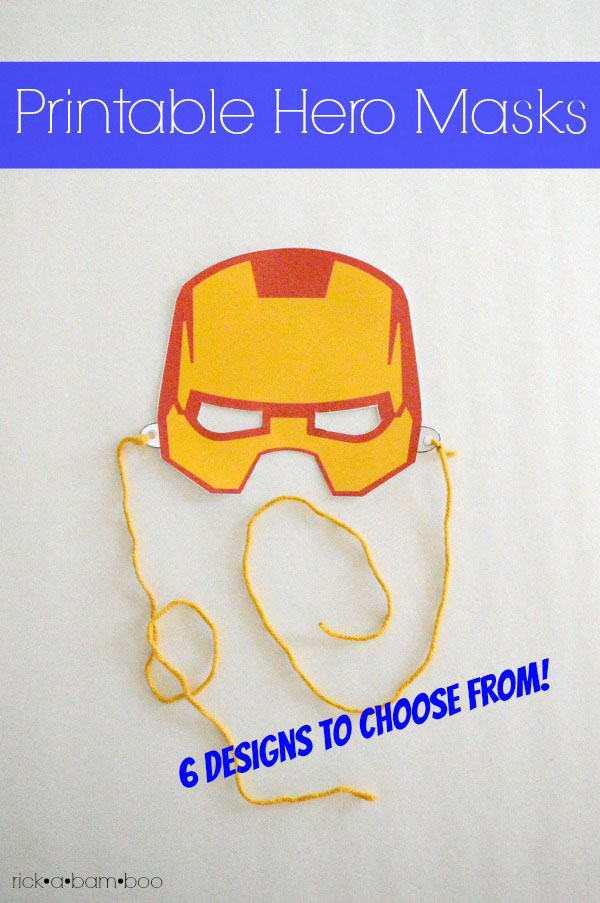
Want more Halloween fun? Check out these posts.
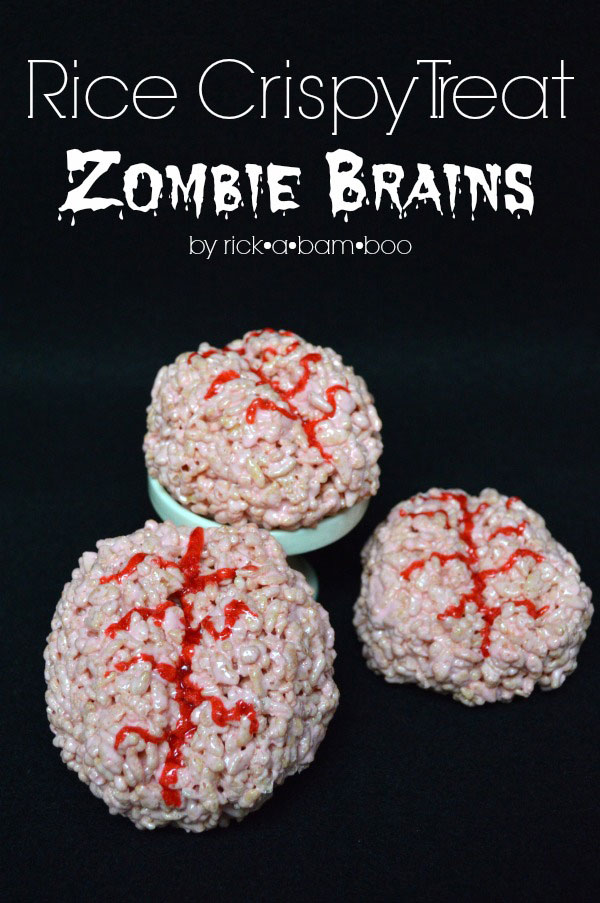
Zombie Brain Rice Crispy Treats
Be sure to follow me so that you don’t miss any of the awesome Halloween stuff I have planned!
Leave a Reply