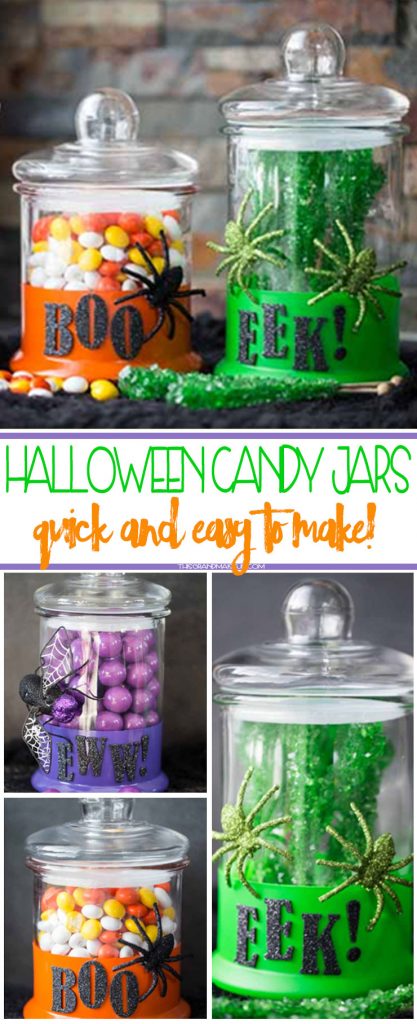
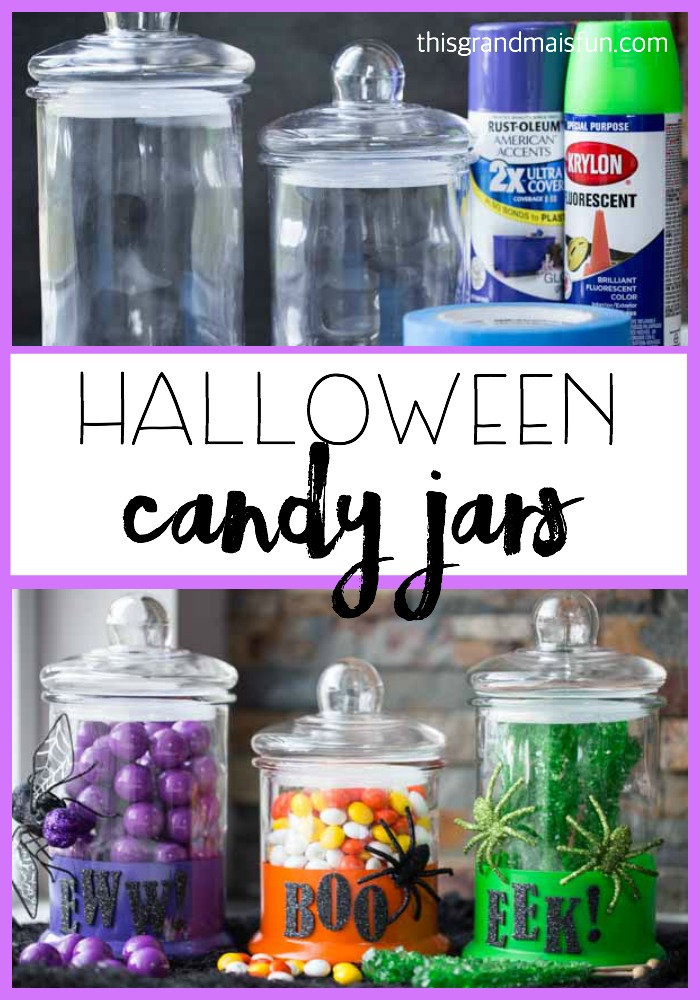
Are you excited about Halloween? We three sure are and we’re also excited to share our Halloween Candy Jars today!
What is Halloween without a little candy? My grandchildren know that there will be treats at Grammy’s which inspired me to create these Halloween Candy Jars. I love the black and orange colors of Halloween but I think my favorite Halloween colors are green and purple. The great thing about this craft is that you can make them in any colors that you want! I think I may even make these for another holiday. Valentine’s would be cute or maybe in Easter colors? But today we’re in Halloween mode so let’s get started!
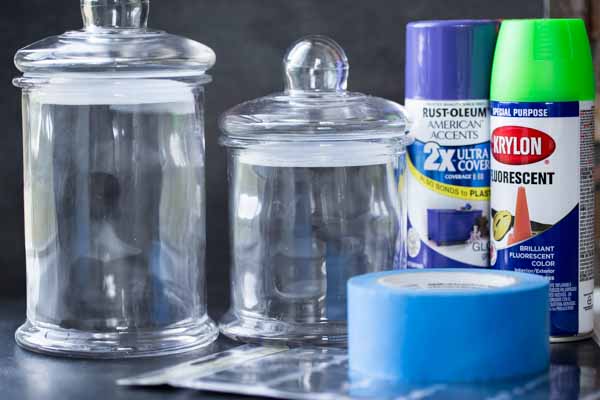
Items needed:
- Glass jars – I chose kind of an “apothecary” type looking jar.
- Spray paint in your desired color
- Painters tape in the wide size
- Ziploc bags – gallon sized
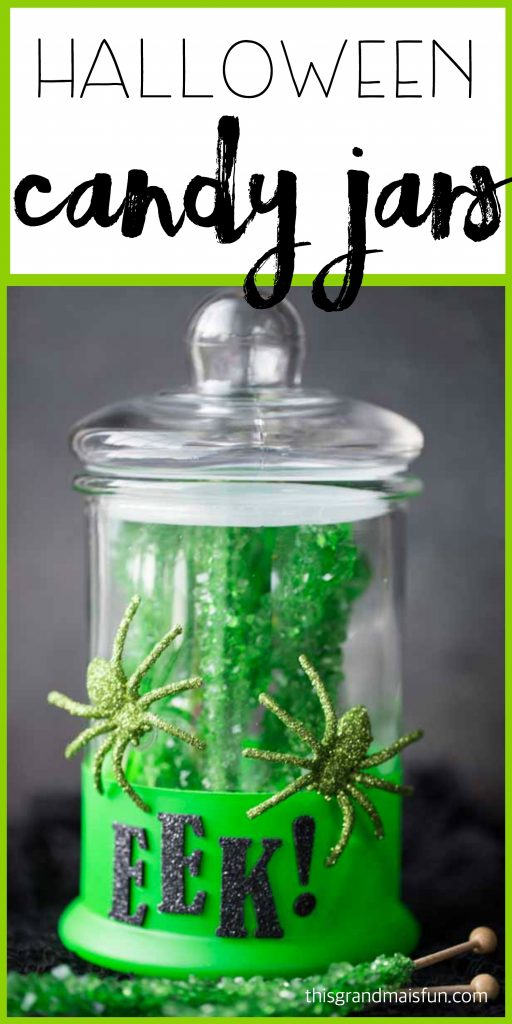
- Letter stickers – Mine are kind of a foamy sticker with some glitter on them. This Grammy loves glitter.
- Embellishments – I got some glittery spiders and a cute glittery fly.
- Candy of your choosing to match your paint
 Make sure your glasses are clean and dry before starting. Start by determining how high your sticker letters are. You wouldn’t want to spray first then find out you don’t have enough height to apply your stickers. After figuring out how much paint color you want on the bottom of your jar, place some painters tape on the glass. My glass jars were round and that worked out great. Place the jars side by side so you can tape each jar at the same spot. Also, press firmly on the tape at the bottom to create a good seal so that spray paint won’t seep underneath.
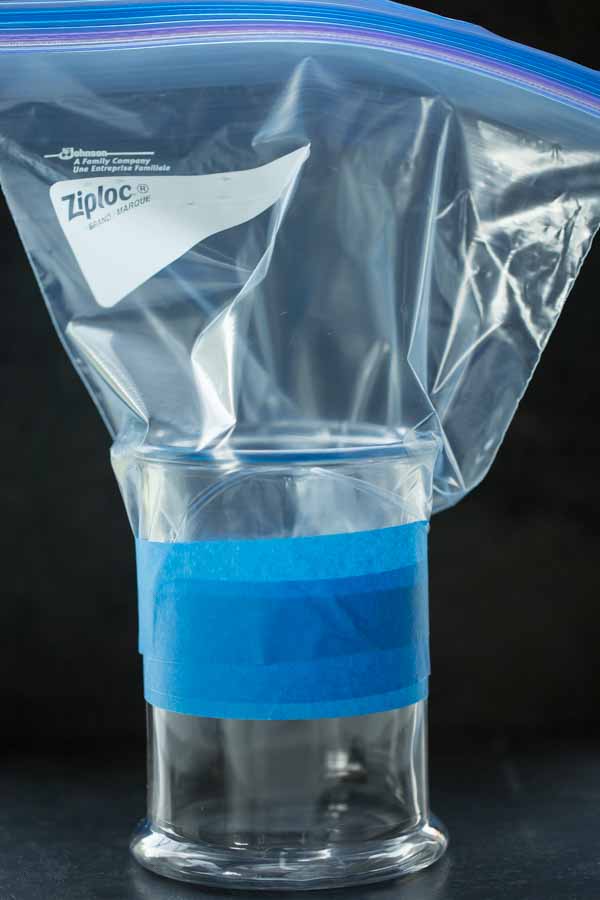
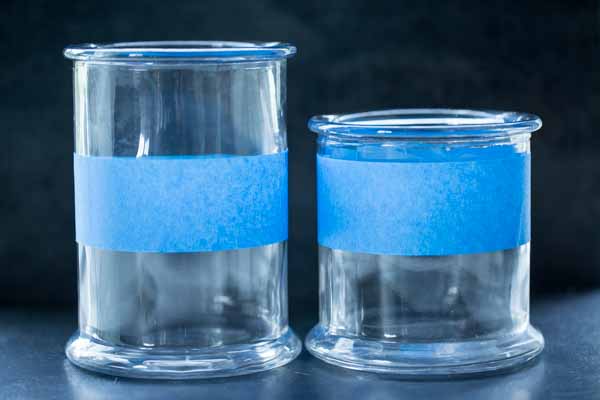 Next, cut out the bottom of your Ziploc bag. Wrap the bag around your glass jar and then tape it on. But make sure that you don’t tape further down past your first row of tape, otherwise you aren’t going to get a nice, clear line with your spray paint.
 Preferably outside, place a tarp or plastic sheet down where you will be spray painting. Place the jar upside down and spray where the glass is exposed. It seems like anytime I am working with spray paint that I am excited and want to get the project done fast so I can see it, so I get the spray paint can up close but then I get drips which drive me crazy. Ideally spray paint is best applied from farther away and done in a couple of coats, which is how you want to complete the painting of your jars. I think turned them right side up and applied paint wherever I could see needed some.
Let your paint dry thoroughly and then very slowly, peel off the painters tape. Sometimes the spray paint will want to stick and if you tear too fast, you might lose your clean line.
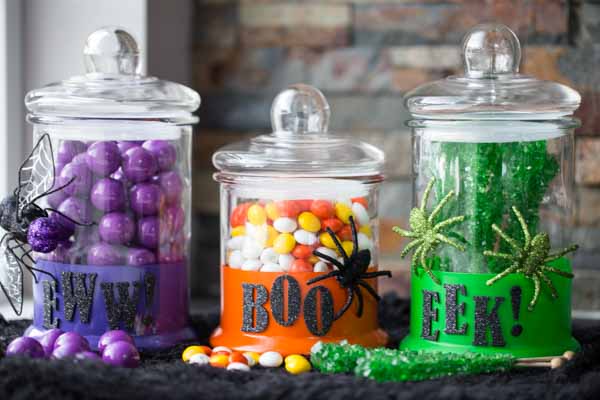
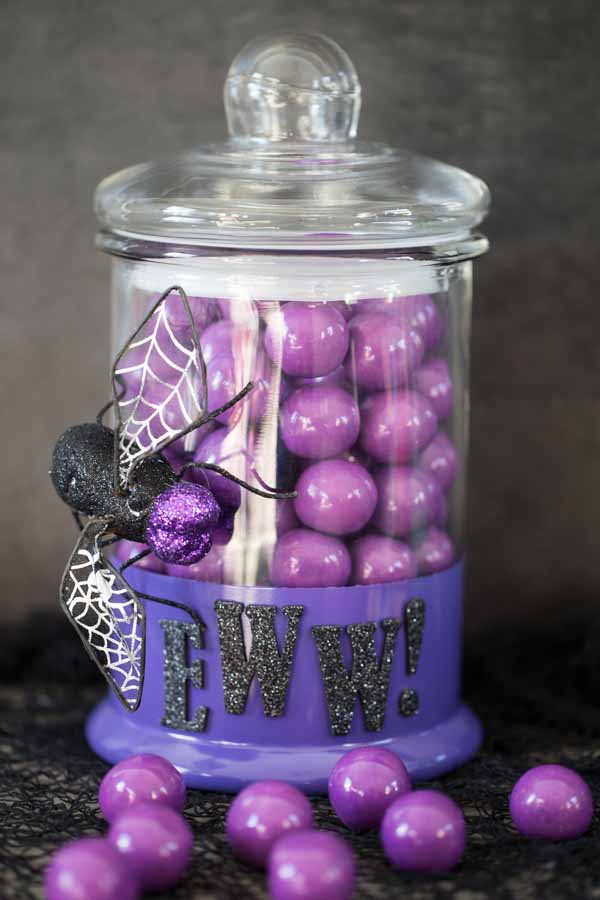
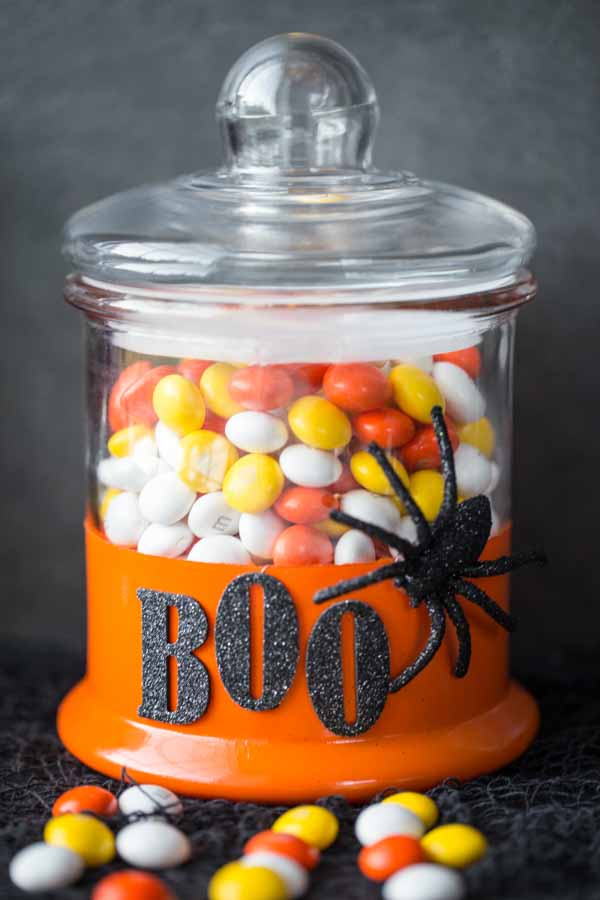
Apply your sticker letters, attach with your embellishments, fill with candy and voila! You are done! Just look how colorful and fun these are!
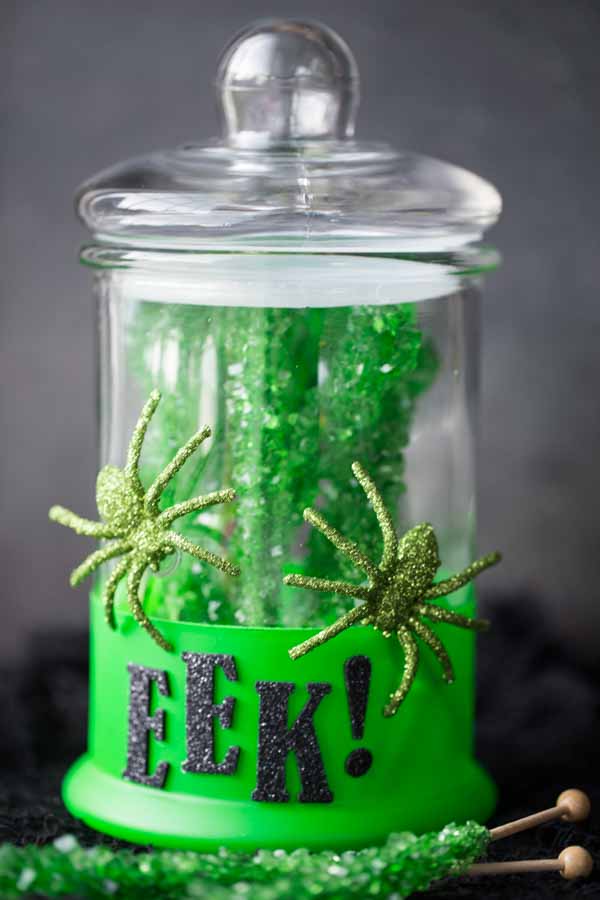
 And I think this green one is my favorite:
Happy Halloween Everyone!


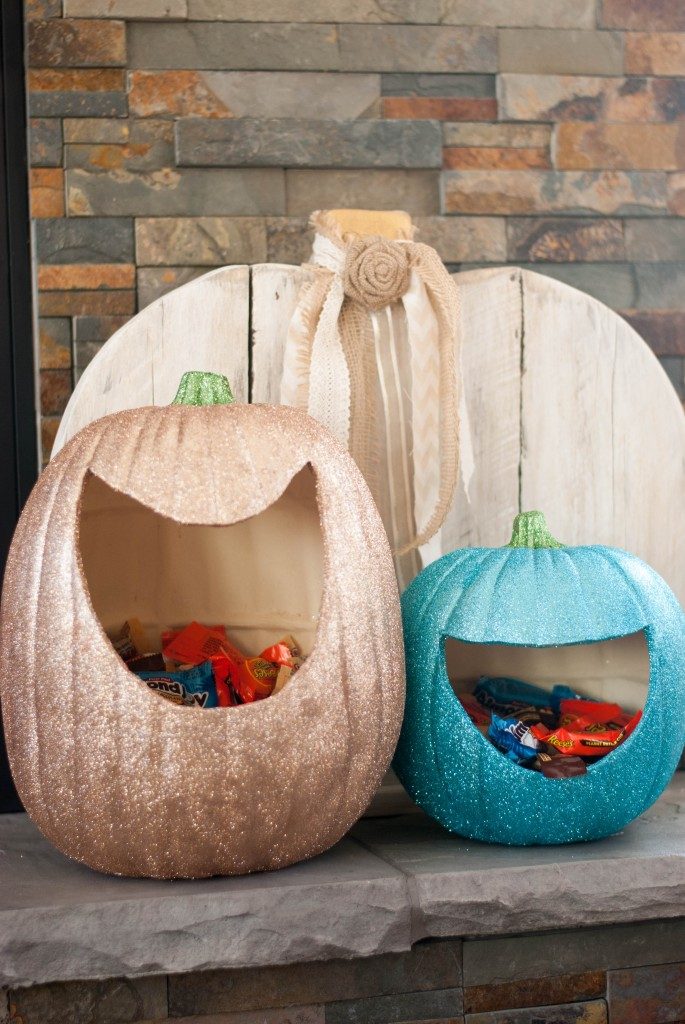
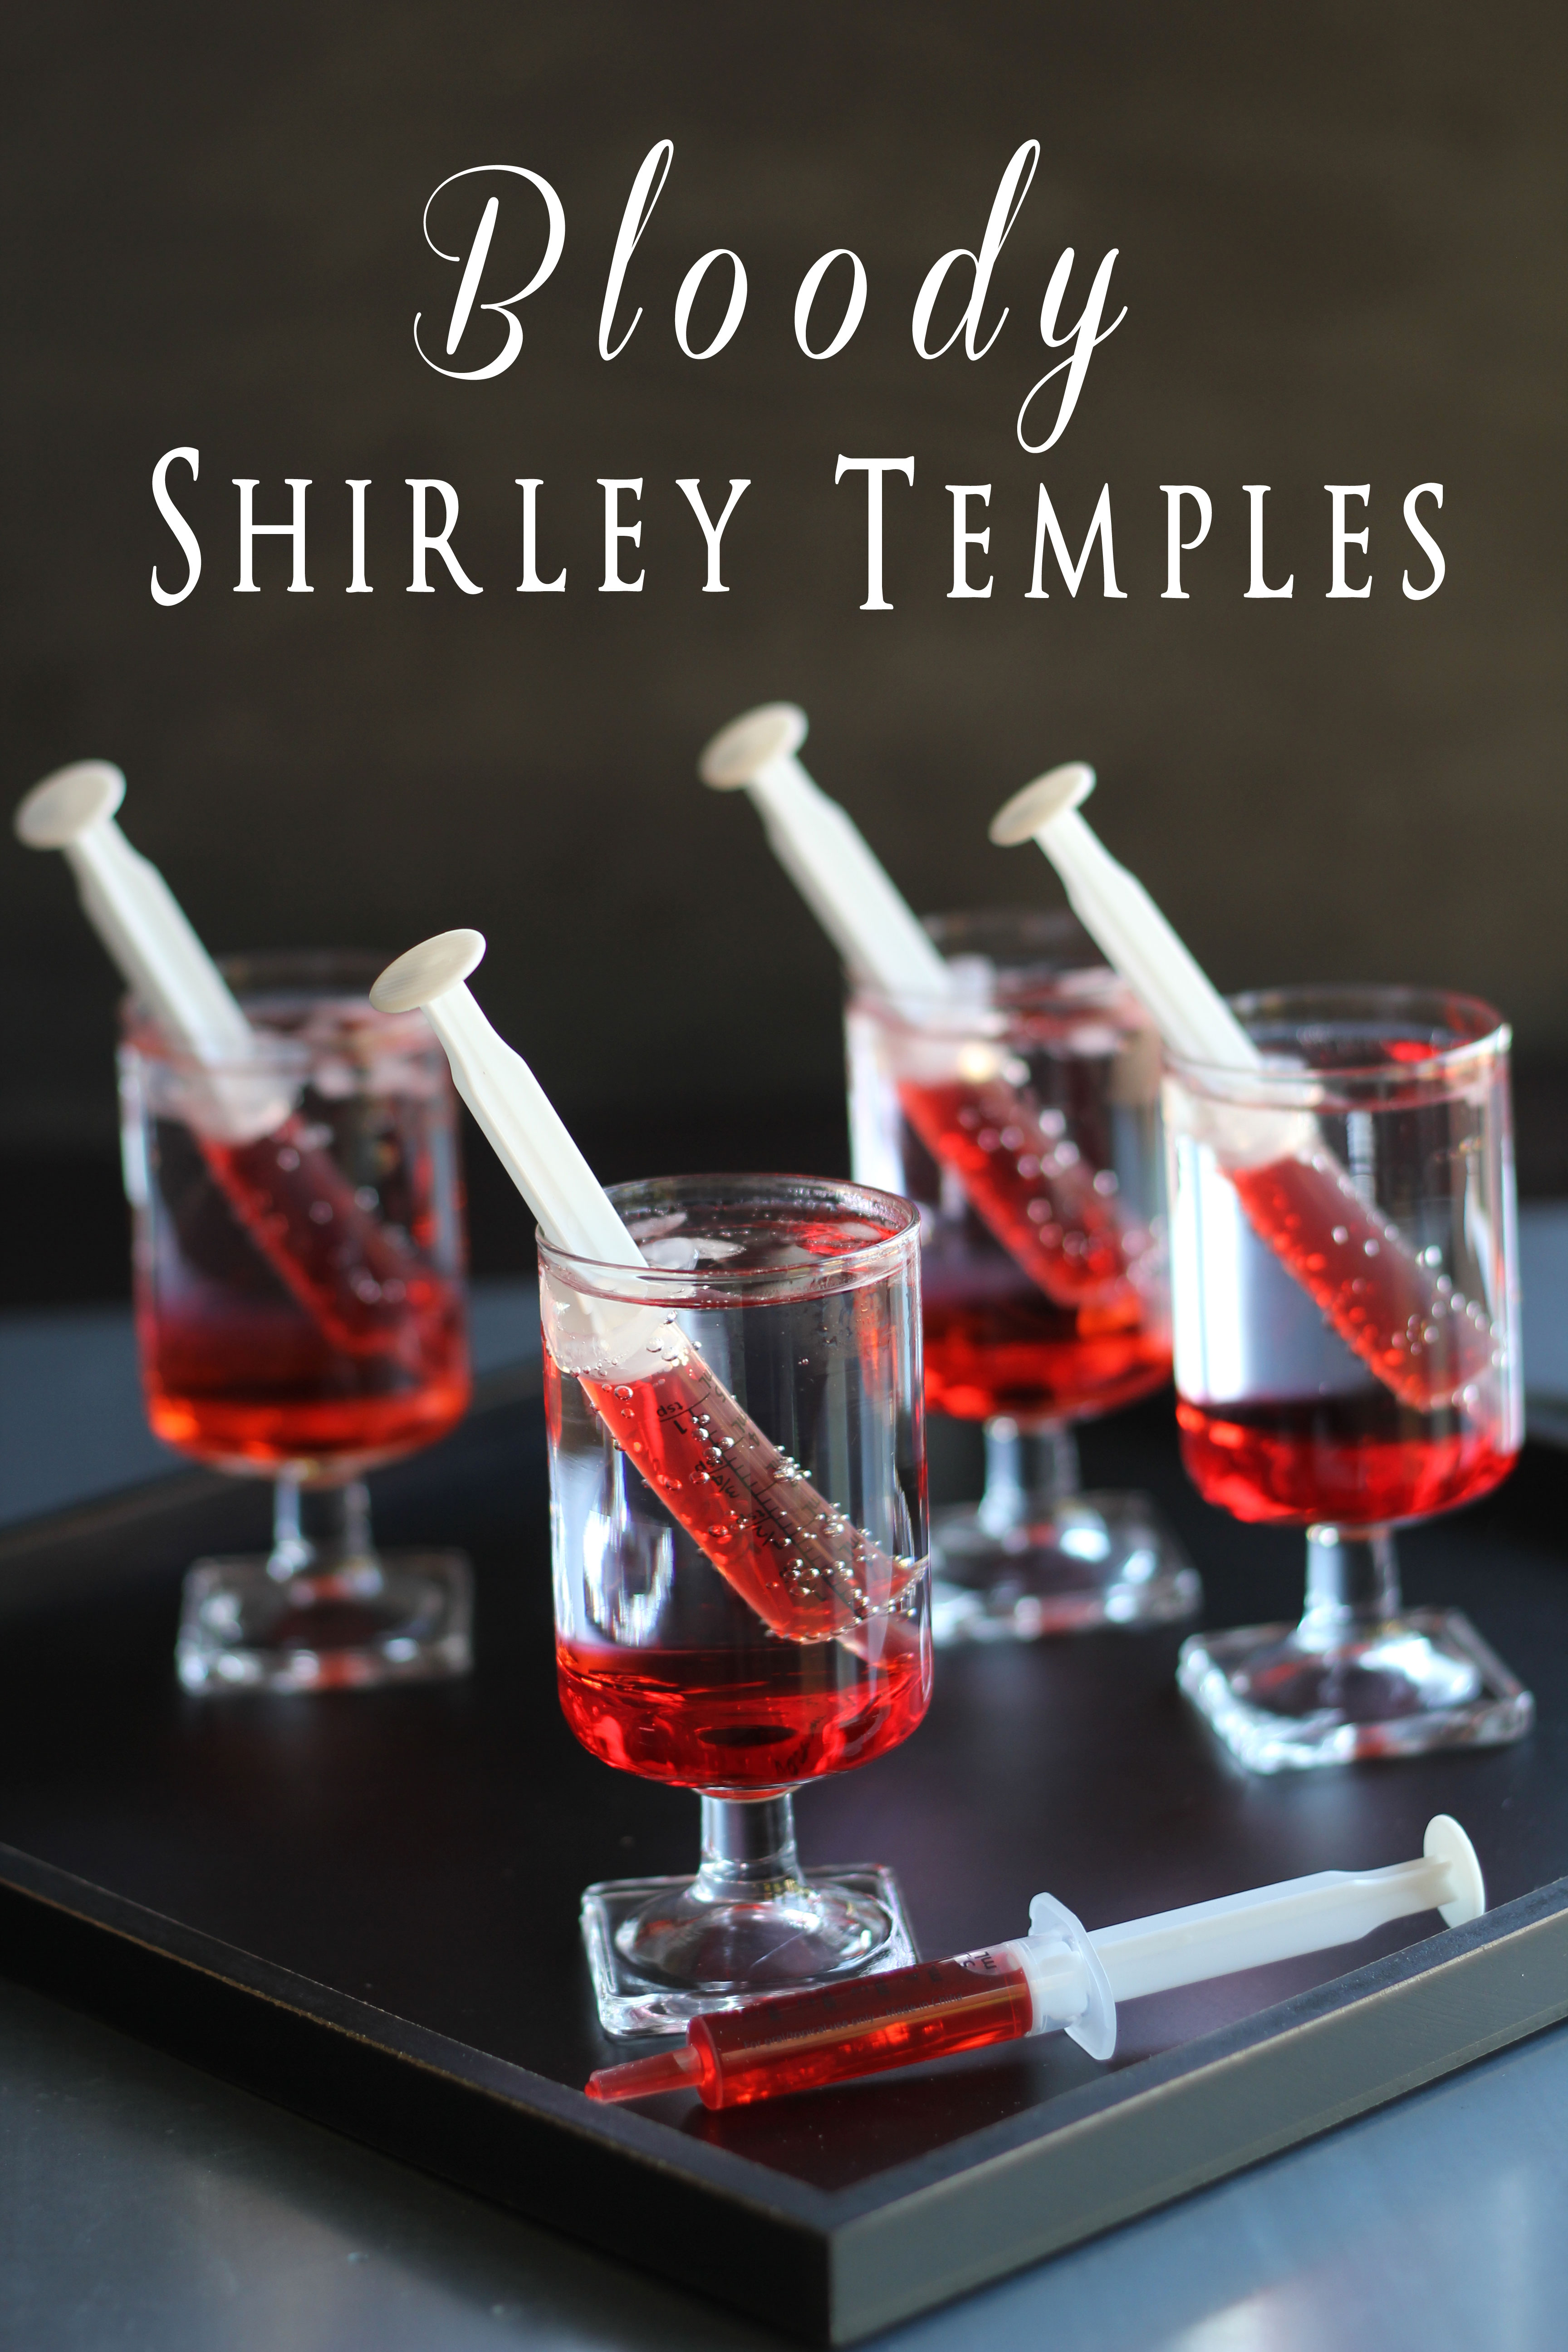
Looking for some more Halloween ideas? These check these out!
looks nice and fairly easy….and you’re right…any holiday would be great….and my favorite Halloween candy….junior mints…in the single portion little boxes…I love junior mints…but can’t be trusted with a larger package…so come Halloween I buy 3 bags and MAKE them last till the next Halloween…..
Oh Shelley…Junior Mints! I absolutely NEED those when I go to the theatre and watch a movie!