• Home
  • About
    • About
    • Disclosure
    • Privacy Policy
  • Activities for kids
    • Books
    • Crafts
    • Games
    • Toys
  • Recipes
    • Appetizers
    • Breads and Rolls
    • Breakfast
    • Desserts
    • Dietary restrictions
      • Clean Eating
      • Gluten Free
      • Paleo
      • Vegan
      • Vegetarian
    • Dinner
    • Drinks
    • Just Crockpot Recipes
    • Lunch
    • Side Dish
    • Snacks
  • Grandma’s Lifestyle
    • Beauty/Makeup
    • Book Reviews
    • Crafts for Home Decor
    • Fashion
    • Get Me Organized! (Cleaning tips too)
    • Hobbies
    • Lifestyle
    • Nutrition
    • Relationships
    • Technology
  • Travel
    • Personal Travel
    • Places to take Grandkids
      • Midwest U.S.
      • Northeast U.S.
      • Northwest U.S.
      • Southeast U.S.
      • Southwest U.S.
  • Reviews on kid stuff!
    • Books
    • Games
    • Toys
  • Holidays
    • Christmas
    • Easter
    • Halloween
    • Misc. Holidays
    • New Year’s Eve
    • Patriotic Holidays
    • St. Patrick’s Day
    • Thanksgiving
    • Valentine’s Day
  • Service Opportunities
  • Free Printables

Crafts Crafts for Home Decor Halloween Hobbies

Glitter Pumpkins

Pin
Share
Post

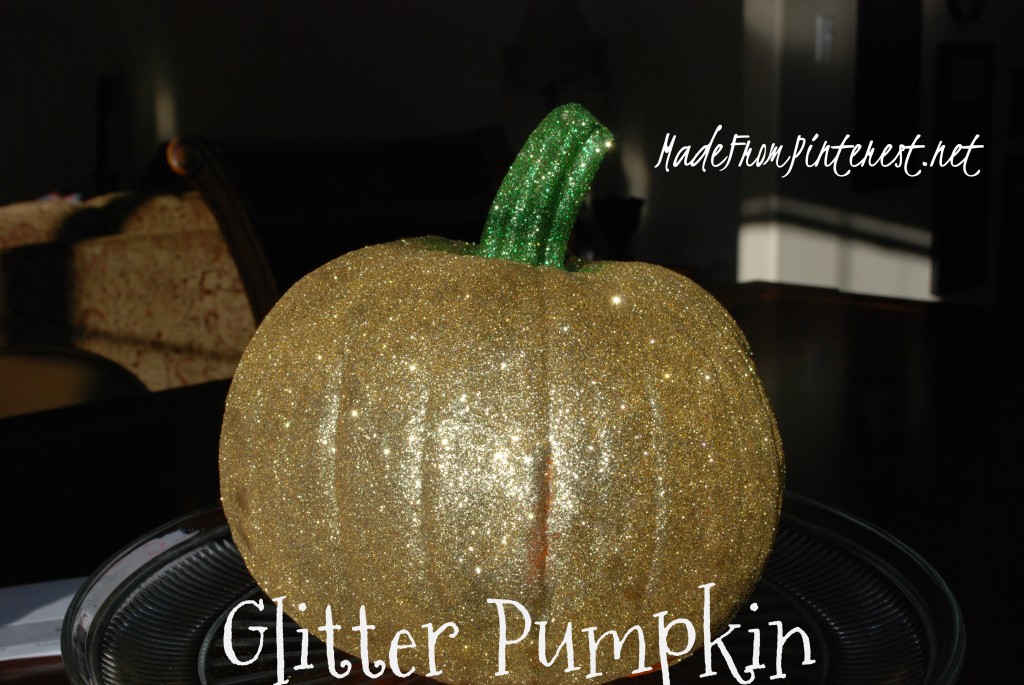
Glitter.  Everything goes better with Glitter.  Even a scary holiday like Halloween!  I personally love Glitter.  The blingier the better.  So what could be better than a little bling on your pumpkins?

I made these last year and absolutely loved them.  My daughter also made one which lasted until almost Christmas.  When Halloween was well past, she cut  a little square of construction paper  and slipped it over  the stem and made the pumpkin look like a Christmas ornament.  Multi-tasking decorating!

I was reminded about these pumpkins again this year when I saw this pin from  “A Glimpse Inside”.

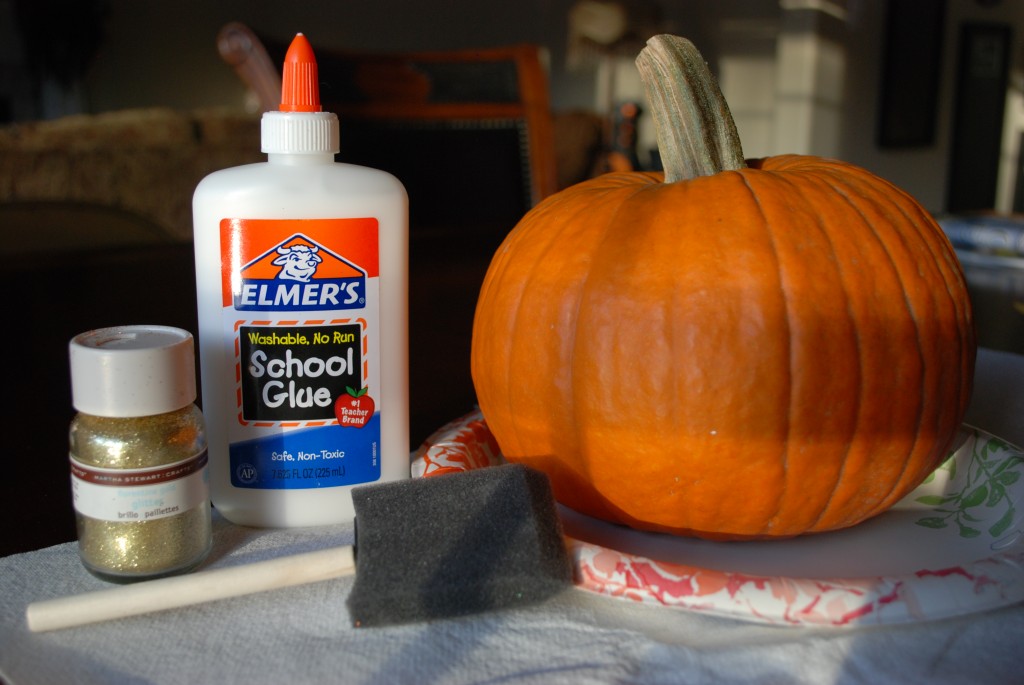
What you need:

Small to medium sized pumpkin

Elmer’s Glue

Martha Stewart’s Glitter (My personal glitter of choice!)

Foam or bristle brush

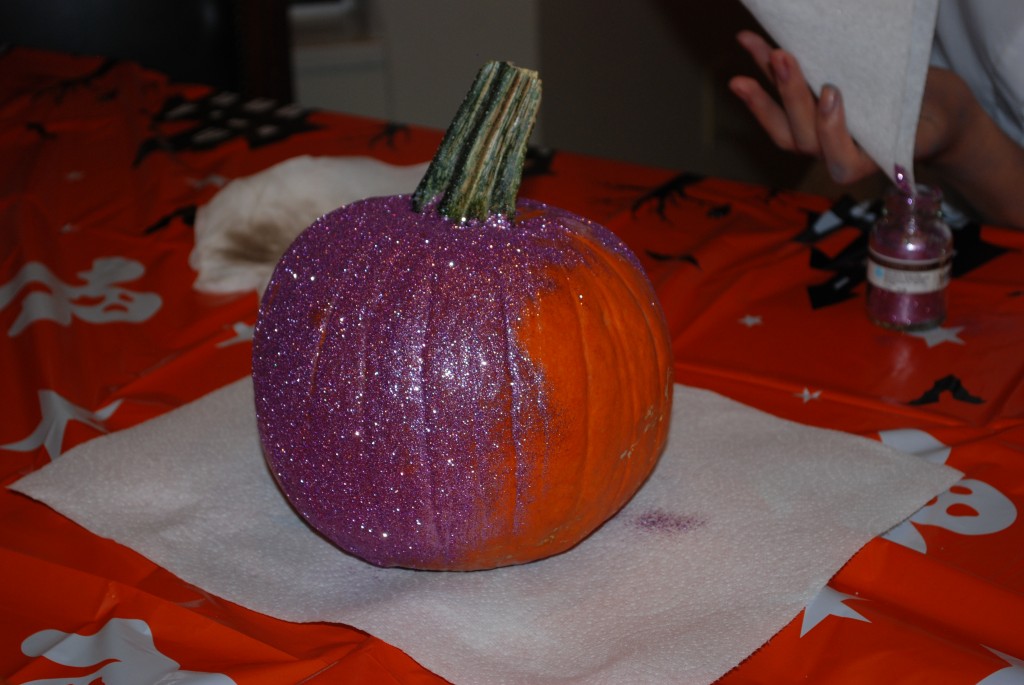
I strongly suggest putting something under your pumpkin to catch the excess glitter.   This way you can pour it back in your bottle.  Even though it may look like this would take a lot of glitter, you will be surprised at how little it actually takes.

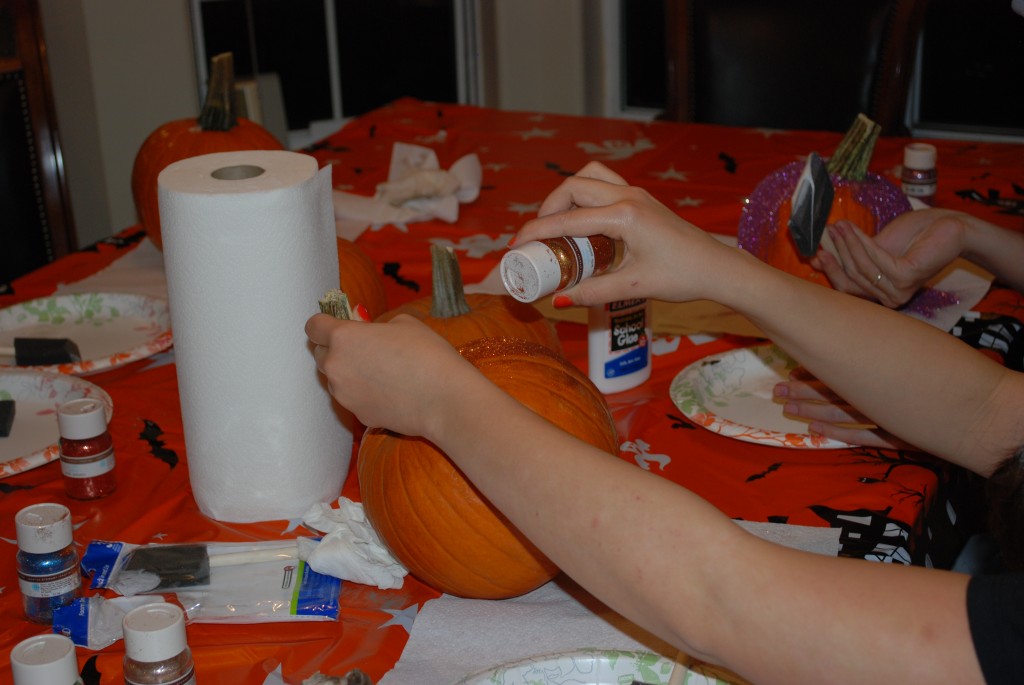
This was one of our crafts at our Halloween Dinner last Sunday.  I had lots of helpers to help demonstrate the process.

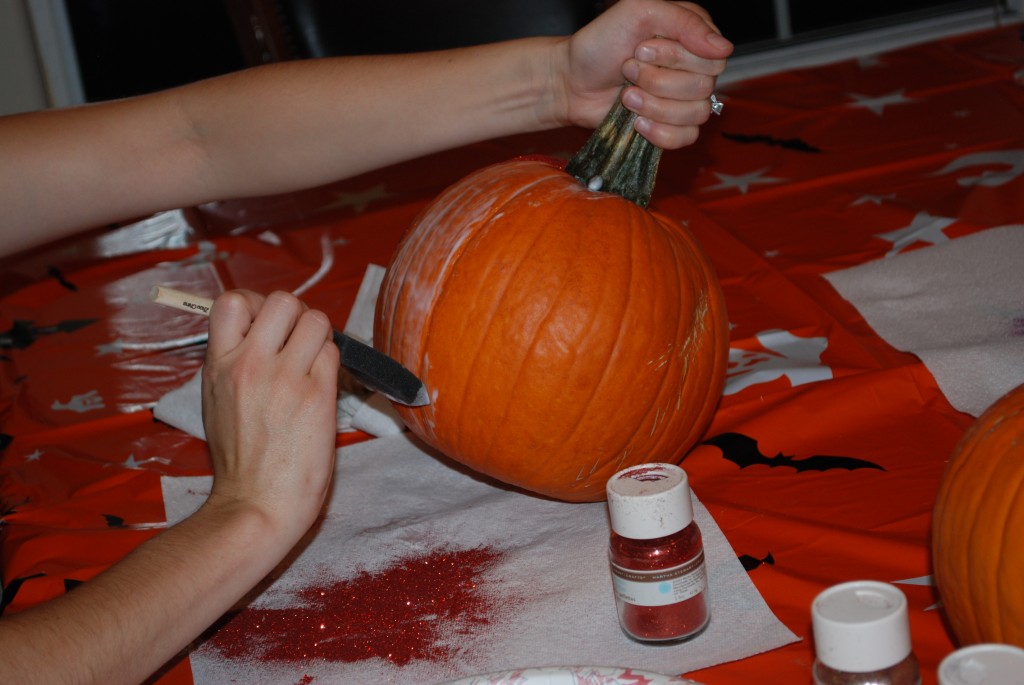
After your work station is prepared, brush the glue right on to the pumpkin like this:
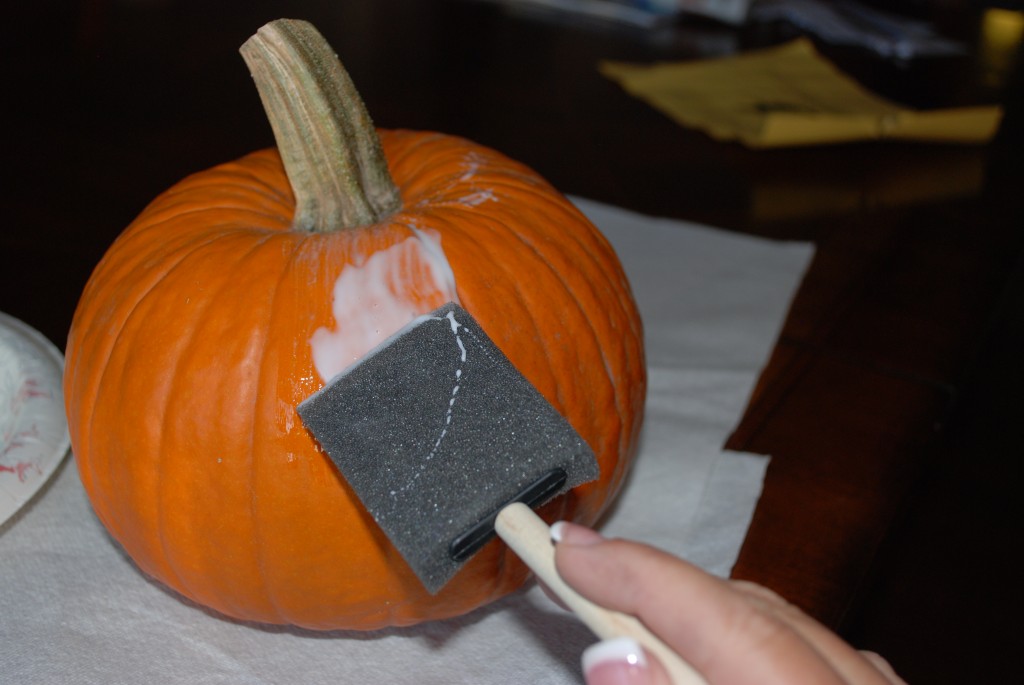
Be liberal with your glue.  You want your glitter to stick really well.  If the glue isn’t applied thick enough sometimes it will have already dried before you can sprinkle your glitter on.

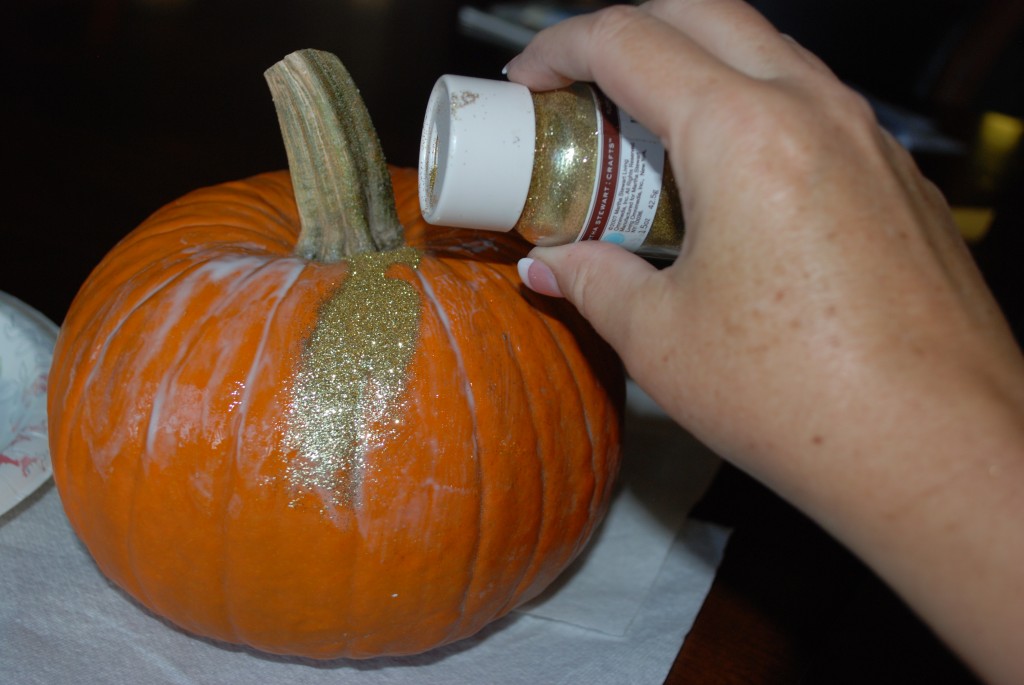
Now it’s time for the Glitter!

Warning! Warning! Warning!  Be prepared to get glitter EVERYWHERE. Hands, face, clothes, up the nose. This glitter is very fine and sticks very well to most all surfaces, including body parts.

Sprinkle glitter liberally over your pumpkin

You can leave the stem natural or you can put glitter on that too.  I say glitter the stem.  We wouldn’t want to waste a perfectly good glitterable space now, would we?  Just make sure that if you change colors, to put all of the excess glitter of the first color back in bottle so the colors don’t mix together.

Now that I’ve made this Glitter Pumpkin, it’s time to do some Glitter on my toes.  But before I go, I can heartily report that This Pin Rocks!

Pin
Share
Post


Leave a Comment

« Twinkie Mummies
Improving a cheap plastic cauldron »

Leave a Reply Cancel reply

Your email address will not be published. Required fields are marked *

Recipe Rating


Welcome to TGIF – This Grandma is Fun!

GrandmaDTS
Come join Sherri, Tracy and Debbie as we share fun ideas to do with grandkids! With 12 grandchildren between us (and more to come!) we are loving this time of life and want to share what we are doing to make lasting memories and to uplift and support our families. We hope you come back often!

Copyright © 2025 · THIS GRANDMA IS FUN · PRIVACY POLICY